


1 How to Choose: Kitchen Worktop
2 My Acrylic Worktop
3 Verdict: My Asuka Acrylic Worktop
4 DIY: Worktop Protector
5 Further Reference
6 Silestone FAQ
7 Maintenance: Granite Worktop
The guys from Asuka delivered two completed acrylic worktop pieces on Thursday 24-Apr-08, one for the hob area, the other for the sink area. Only the hob worktop piece was installed. As this worktop will have its own glass backsplash to be fitted later on, the hob worktop piece was made without a backsplash.
Hob worktop without backsplash
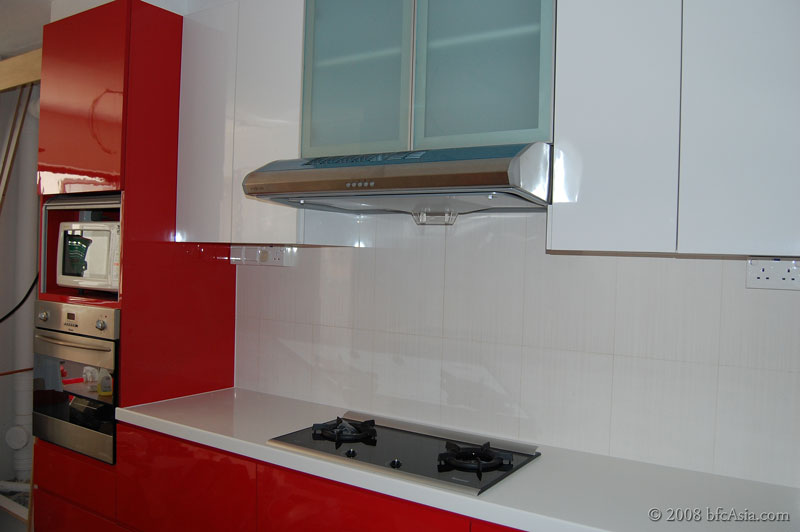
The other piece also had no backsplash. So it had to go back to the workshop to add the 5-cm (2-inches) backsplash. The sink worktop will use the white wall tiles (instead of glass panel) as a backdrop, to add contrast to the opposite side of the galley kitchen. Hence the acrylic top needed a backsplash.
Sink worktop piece with cut-out
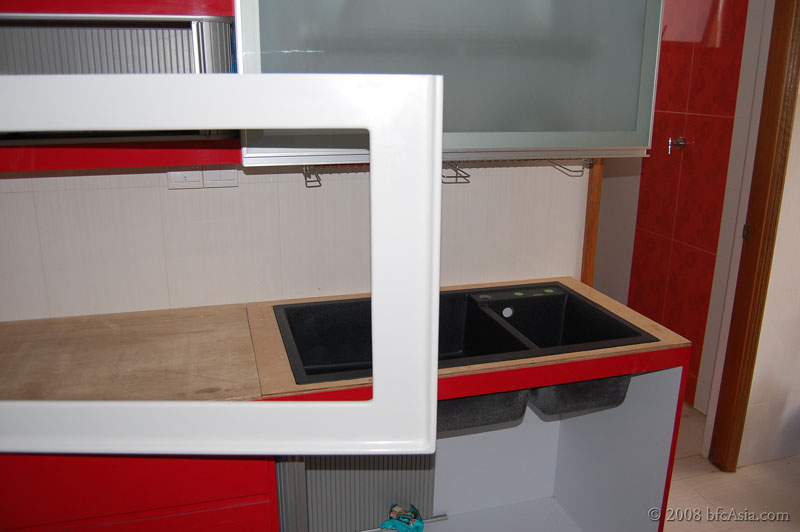
Spill-proof edging design

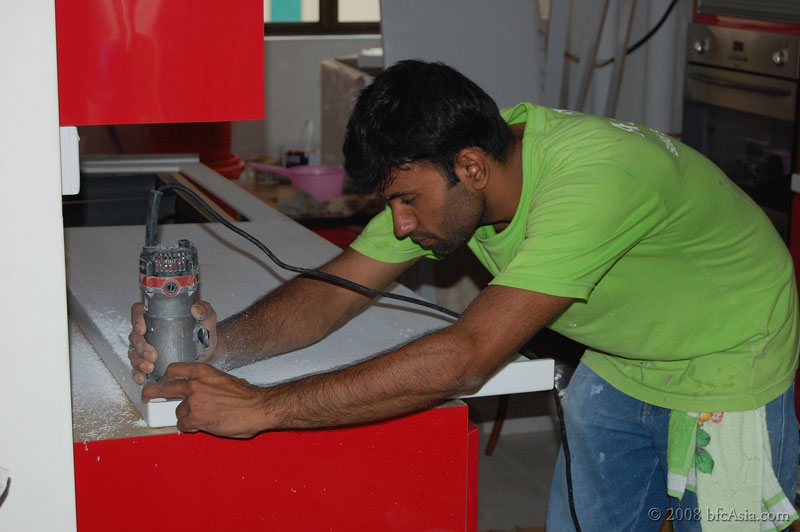
Working the surface
Worktop had to return to workshop because backsplash was missing
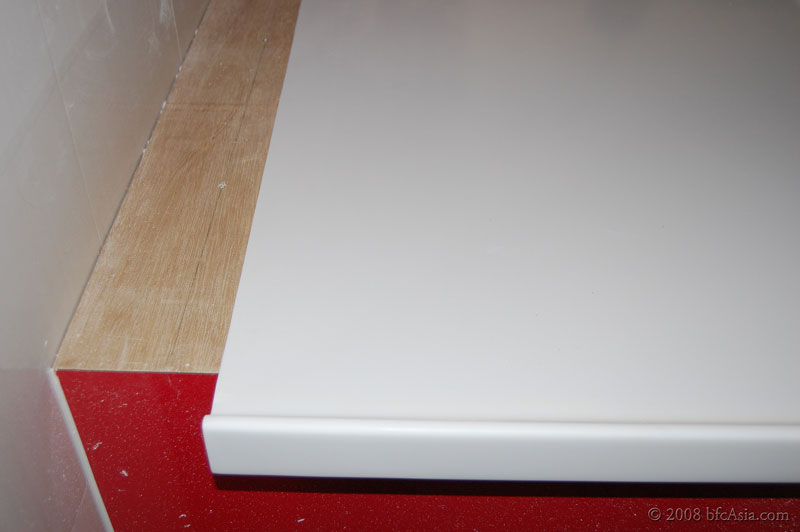
Sealing worktop edges, now with 2-inch backsplash
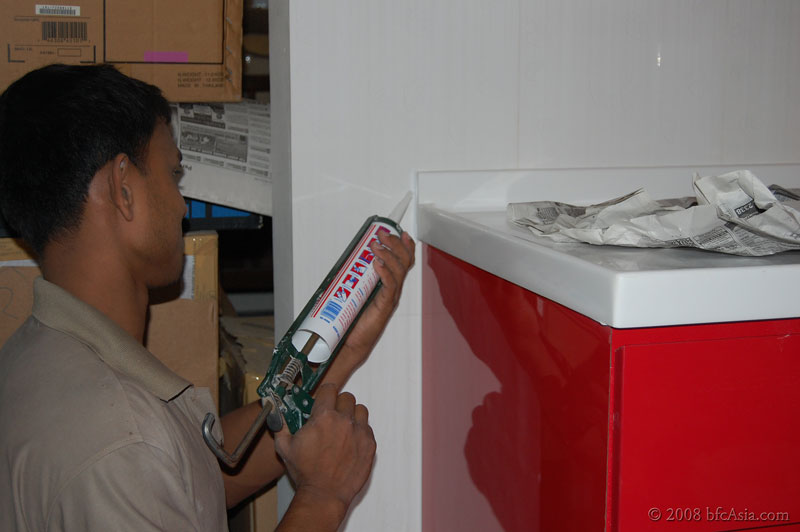
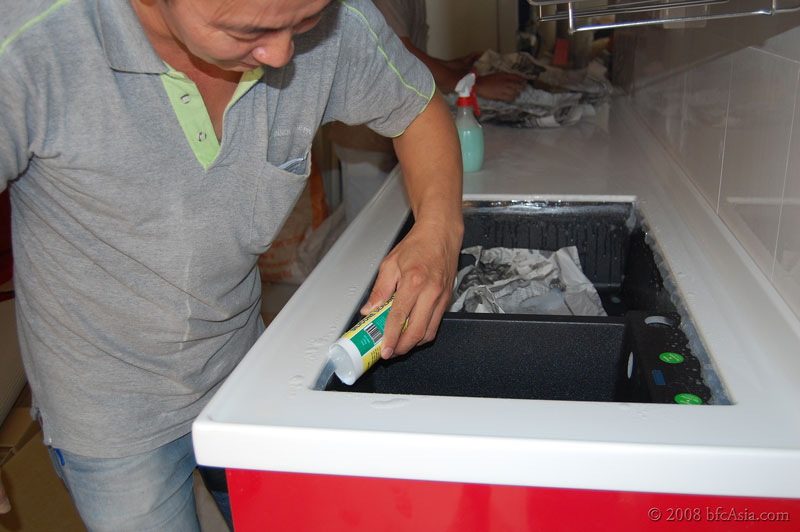
Sealing the rim with silicone
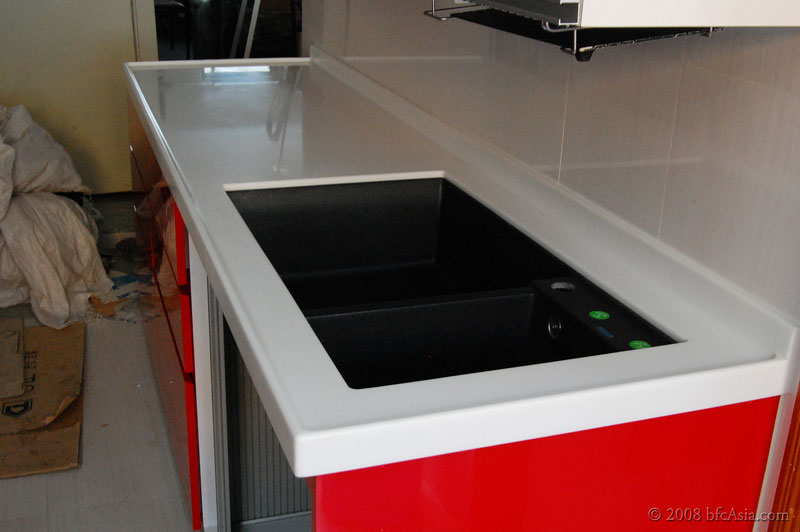
Undermounted sink before finishing touches
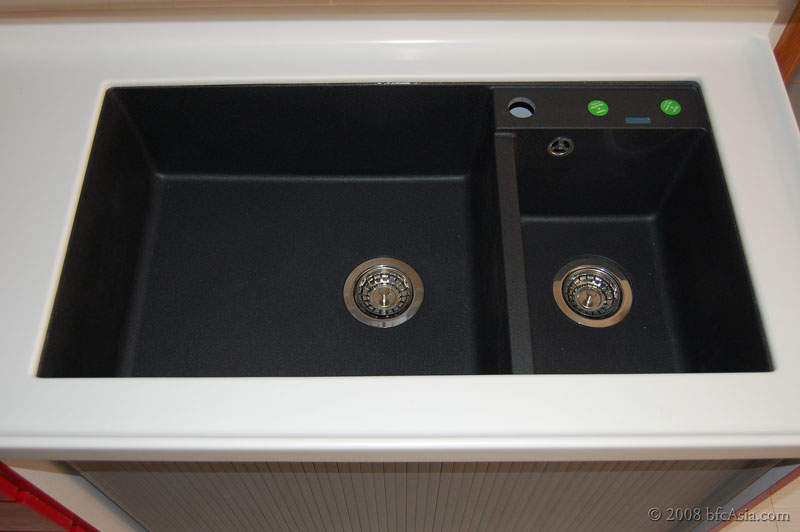
Completed worktop with undermounted sink
NOTE that the acrylic worktop piece is simply laid onto the plywood base. No glue was used as the acrylic piece was made-to-fit the plywood base. The worker used
That means if we have to replace the sink or worktop in future, it would be a relatively easy and simple job. Just use a knife to slice through the silicone seam and lift up the acrylic worktop piece. The sink can similarly be lifted up and replaced once the silicone seam has been sliced through.
TEST: I tried to shake and move the acrylic worktop. It did not budge and the feel was solid. The supervisor smiled and assured me I had no worries because the acrylic worktop was (1) heavy and (2) the fitting was exact, owing to the templating production process.
These two factors result in a stable, solid worktop, despite no glue being applied to install the worktop.
Related Posts
1 How to Choose: Kitchen Worktop
2 My Acrylic Worktop
3 Verdict: My Asuka Acrylic Worktop
4 DIY: Worktop Protector
5 Further Reference
6 Silestone FAQ
7 Maintenance: Granite Worktop


0 comments:
Post a Comment
Hi, thanks for your comments. While I will strive to answer all your queries please be patient as I am overwhelmed at work.
Thanks for your understanding,
GreenCoal