


I am surprised my post titled "Clutter-free PC Desktop" still attracts a fair amount of interest from readers.
Problem is, you need to click a link that takes you to another blog - Nikon Workshop - as my article was posted there. Yes, you guessed it: I am the author of Nikon Workshop too. Some of you are photo fanatics like I am. That's why I may bring some posts on that blog to this blog to make it more convenient for you to access. That will be a future project. Well, for now I will bring only this post, revamped a bit, to show you how to create a clutter-free desktop.
Oh-oh..but what has a Clutter-free PC Desktop gotta do with this blog? Well, since we spend a prodigious amount of time on the office-and-home PC, seeing our PC Desktop clutter-free may inspire and remind us to keep our home(s) clutter-free too! The real deal is I wanted to put up a post on how to keep the home clutter-free.
Hopefully, a post on my clutter-free desktop may serve up Google ads that make it easier to locate more info. Some links provide useful articles, other links provide ads that have relevant info, as explained in-depth in my blog post.
+++
Here's the tutorial on the Clutter-Free PC Desktop.
The Desktop is usually cluttered with a lot of icons. The objective of this
Thus there is a toolbar called 'desktop toolbar' that displays the icons, and there is a Desktop that refers to your monitor display. Confusing, isn't it - who else always does that, but MS Windows ?! *grin*
So you have the Desktop or screen display and the Desktop Toolbar aka the desktop widget that is initially hidden in the Toolbar menu, until you bring it up and display at the side or top of the display screen. Got that?
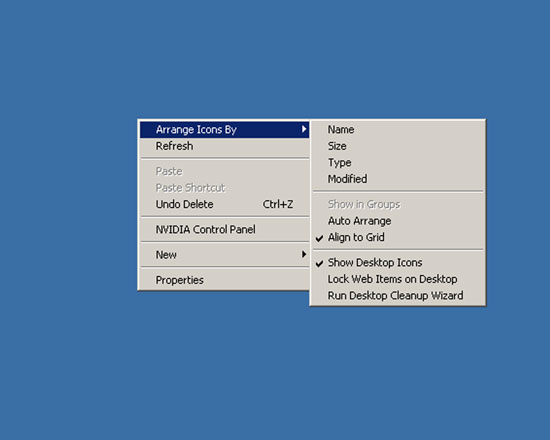
Step 1 - Clear the Desktop of all icons.
Right-click anywhere on the your PC monitor screen, then click on Arrange Icons By and uncheck Show Desktop Icons on the drop-down menu. Once you uncheck Show Desktop Icons all the icons will disappear on the screen display aka Desktop. See the picture below:
Clutter-free Desktop
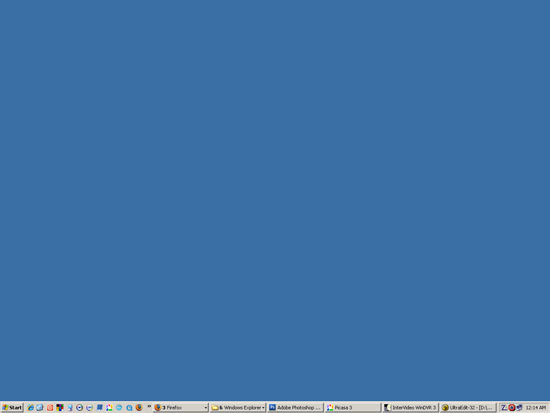
Clear desktop of icons
Note the above screen capture had the Show Desktop Icons checked, which meant the icons were displayed on the desktop. I cheated, and cropped the icons out of the screen capture ! But you get the idea, right?
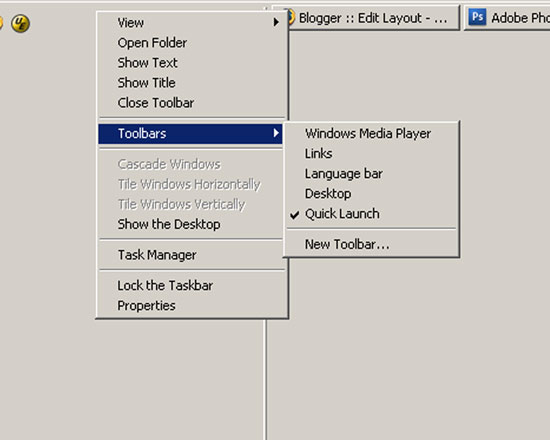
Step 2 - Desktop Toolbar
Once you have cleared the desktop, the next step is to unhide or display the desktop toolbar.
Go to the toolbar at the bottom of the screen, right-click on an empty space near the time display, select Toolbars on the pop-up menu, and check Desktop on the drop-down menu. That will unhide the desktop toolbar or widget. When you complete that step, a desktop widget will appear on the horizontal toolbar next to the time display area.
Select Toolbars-->Check Desktop
Desktop Widget
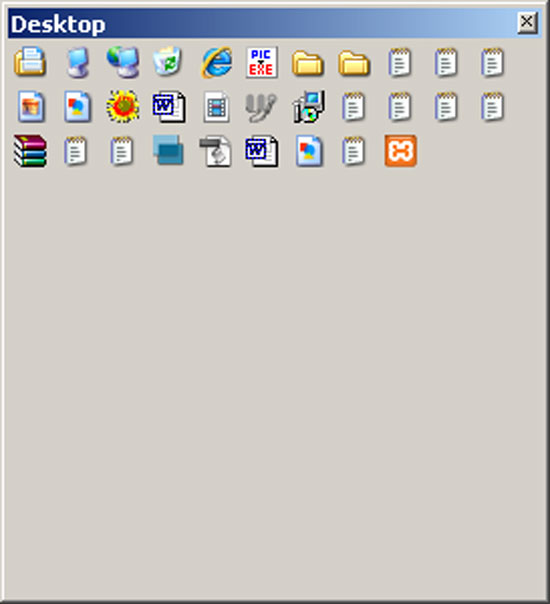
You then drag that desktop widget and place it either at the side or top of the display screen, like so:
Desktop toolbar placed at the side of the screen display

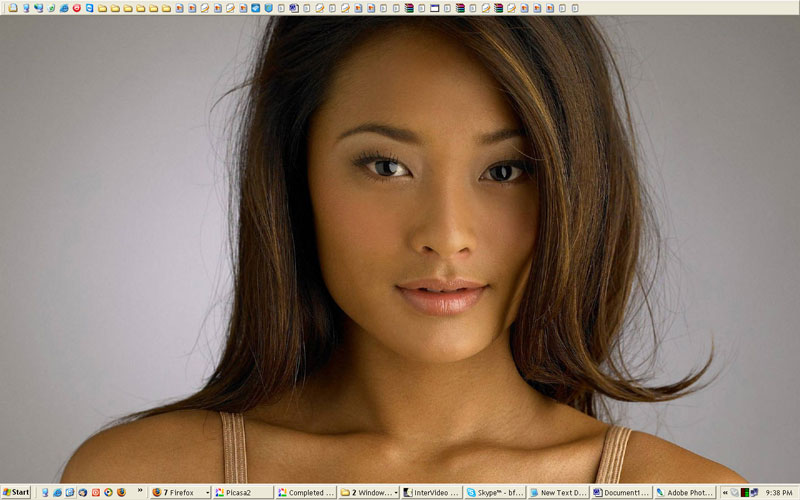
Finally, open (simply double-click on the file) any high-resolution image you like, right-click on the image that is opened, and click on Set as Desktop Background.
Another Desktop Photo
If you like, you may wish to download a high-resolution 1280x1024 px image of the pretty Thai actress below as your desktop image. Simply right-click on the image and click "Set as (Desktop) Background..". The photo was shot by my dear wife at a marriage function in Thailand and copyright-owned by her. I didn't watermark our Copyright on the photo as it is meant to be for your private use - on your PC desktop. Nevertheless, please respect the Copyright and do not flog the image around on the Net, ok?


0 comments:
Post a Comment
Hi, thanks for your comments. While I will strive to answer all your queries please be patient as I am overwhelmed at work.
Thanks for your understanding,
GreenCoal