


1 Kitchen: Cooking & Food Storage Zone
2 Kitchen: Microwave Oven Cabinet
3 Kitchen: The Sink Unit
4 Kitchen: Food Preparation & Cleaning Zone
5 Kitchen: Worktop & Kitchen Sink
6 Kitchen: Splashback
Taking Measurements
On 25-April-08 two guys from L&K Aluminum & Glass Works PL came to take measurements for the glass splashback. The glass panel would be spray-painted black and cover the entire back wall of the kitchen cabinet in the photo below.
White tiled wall above burner hob will be covered with glass panel

They brought a special laser beam instrument to aid them in the measurements, probably as a visual aid to assess the exact vertical and horizontal axes for the glass panel.
Laser Beam Instrument

Accurate measurement is the key to good panel fitting

All important parameters are measured twice

Measuring cooker hood height
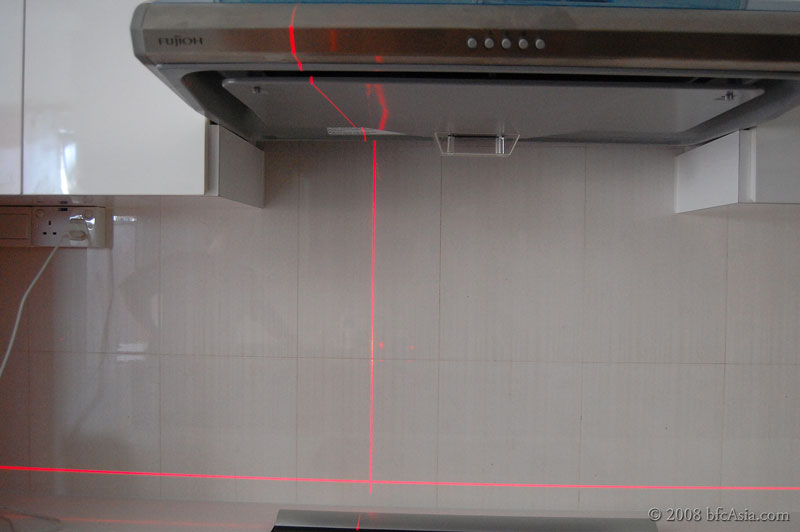
Ensuring correct measurement for the power socket cut-out

One Month Later - Installation
Today - Thu, 22-May-08 - the L&K guys came to install the glass splash back! Why did it take L&K almost a month after the initial measurement for the installation? Well, they made mistakes.
The guys came within one week after they first took measurements on 25-Apr, bearing 3 glass pieces for the back panel. That took me by surprise.
I had previously asked the ID to remind L&K that the glass splash back should be in one single panel. Any visible seam on the glass splash back would not be a pretty sight. So what were the guys doing with 3 cut glass pieces when they were supposed to bring only one?
Hooray! Now they brought one single glass panel!

I called the ID. The ID assured me the factory had made a mistake. He spoke to the guys, that was followed by some hurried phone calls between the guys and the factory. Finally, the guys acknowledged the mistake, apologized, and promptly took the panels back.
Two weeks later, an L & K guy came in the late afternoon. Asked why, he said the factory had misplaced the earlier measurements! He needed to retake those measurements for the glass splashback. Sigh..another delay!
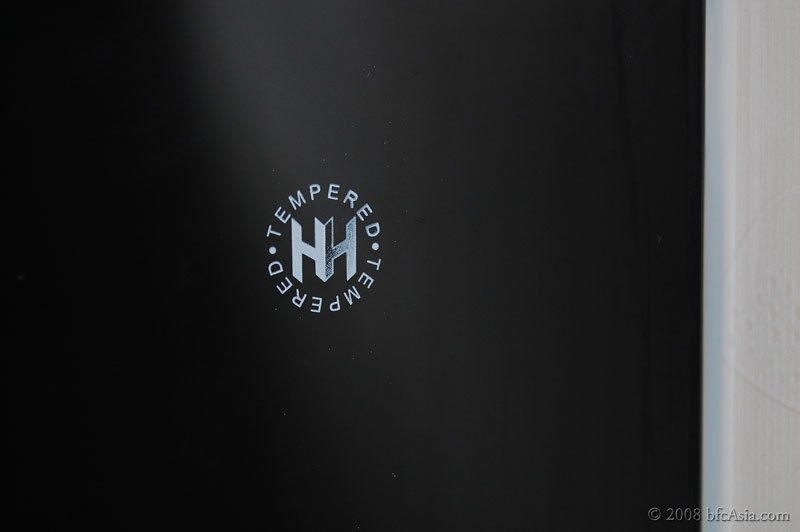
Tempered Glass
All those mistakes surely cost money. Would the additional costs be charged to us? We don't have the answer, yet. The final bill for the kitchen cabinets has not been tallied. The ID assured us he would tote up all the bills and add 10% for his fee.
Trust is not something we gave easily. It has to be earned. Once lost, trust is seldom regained.
As the ID had shown integrity in his dealings with us so far, we decided to trust him and await the final bill.
Silicone applied to tiled wall

"Oh, don't miss that corner - more silicon please!"

Tempered Glass
When we saw silicon applied to the entire back wall, we asked the guys what would happen if we need to replace the glass. They said they could break and remove the glass panel without affecting the tiled back wall. They assured us the glass panel would not shatter or break from the radiant heat of the burner as they used tempered glass for the panel.
Certified Stamp of Quality for Tempered Glass

Most difficult step - The Final Lift, then Push-to-Fit!
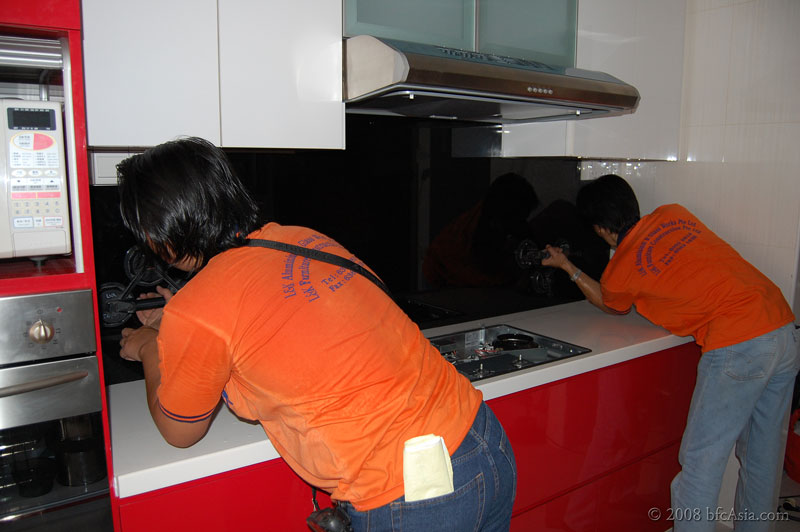
Phew! Perspiration poured in buckets during the Final Lift & Push-to-Fit!

Finishing with silicone sealant around glass edges

A Job Well-Done!

Small gap is necessary for panel installation

We viewed the completed splashback with mixed feelings.
First, the "less-than-perfect" fit of the glass panel where it meets the wall cabinet is a limitation inherent with the installation process. The glass guys had told us before they went ahead to measure and cut the glass that there would be a small line gap where the glass panel meets the top kitchen cabinets to facilitate installation. The gap space is intentional and serves to avoid scratching the base of the white cabinet as the panel is carefully and slowly "pushed" onto the back wall during the actual installation process. It was an inherent aspect of the job, and won't look too obvious or bad either. A similar 2mm allowance was made for the vertical side of the panel. We accepted the explanation.
Second, we thought the original white tiled wall looked pretty good. Maybe we should have gone for a white colored back splash instead? But then, we decided the black splash back looks quite chic and classy. So there - you decide!
Finally, would cleaning up oily residue on the back wall after cooking be easier henceforth? Perhaps it would be, we mused.
But was the extra cost worth it?
Workmanship: Kitchen Works
1 Kitchen: Cooking & Food Storage Zone
2 Kitchen: Microwave Oven Cabinet
3 Kitchen: The Sink Unit
4 Kitchen: Food Preparation & Cleaning Zone
5 Kitchen: Worktop & Kitchen Sink
6 Kitchen: Splashback
Related Posts
1 Good Workmanship
2 Workmanship: Dispute Resolution
3 Workmanship: Walls & Floor
4 Workmanship: Laminated Floor
5 Workmanship: Electrical Work
6 Workmanship: Air-Conditioner
7 Workmanship: Doors & Architrave
8 Workmanship: Gas Piping & Gas Dryer
9 Workmanship: Kitchen Works
10 Workmanship: Hide Ugly Pipes
11 Workmanship: Windows
12 Workmanship: Plumbing


0 comments:
Post a Comment
Hi, thanks for your comments. While I will strive to answer all your queries please be patient as I am overwhelmed at work.
Thanks for your understanding,
GreenCoal