Showing posts with label Workmanship. Show all posts

Workmanship: Kitchen Works

Related Posts - Kitchen Works
1 Kitchen: Cooking & Food Storage Zone
2 Kitchen: Microwave Oven Cabinet
3 Kitchen: The Sink Unit
4 Kitchen: Food Preparation & Cleaning Zone
5 Kitchen: Worktop & Kitchen Sink
6 Kitchen: Kitchen Splashback

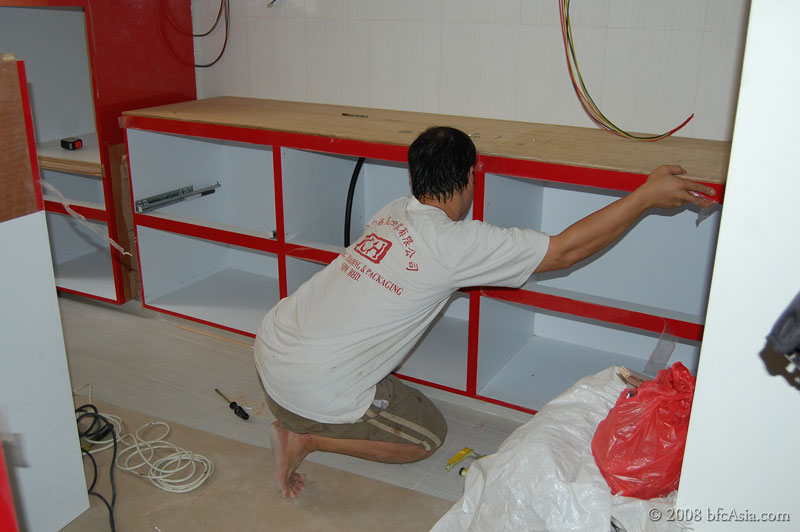
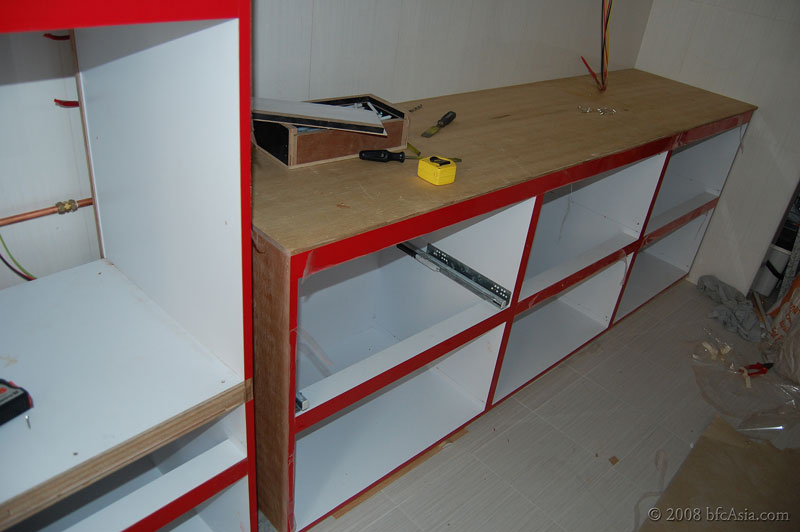
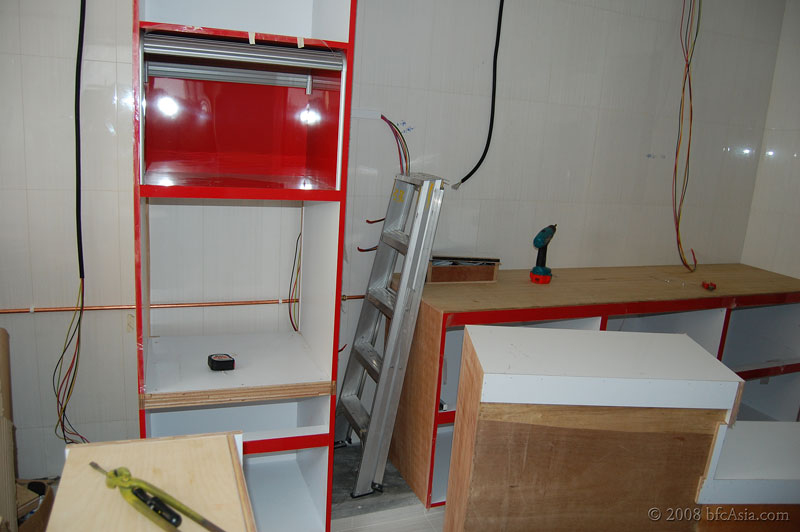
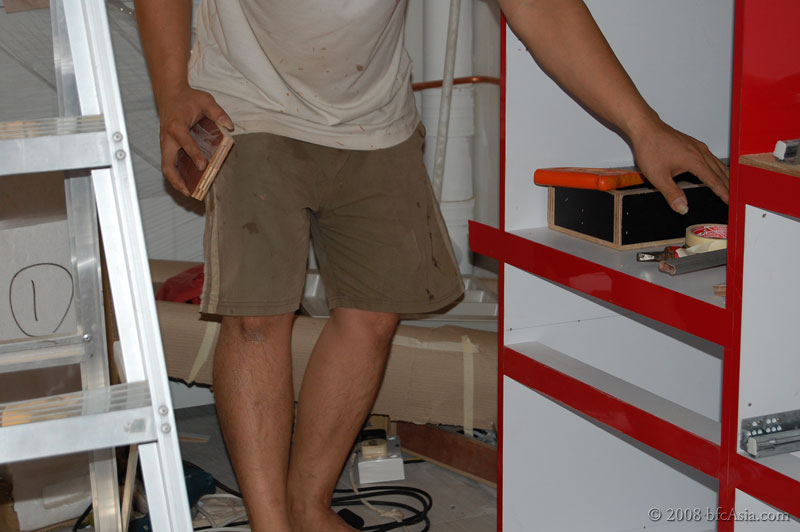
The Cooking Zone basically refers to the area set aside for the burner hob, cooker hood, oven and microwave. The Food Storage Zone comprises the shelves above the counter-top while the deep drawers are placed below.

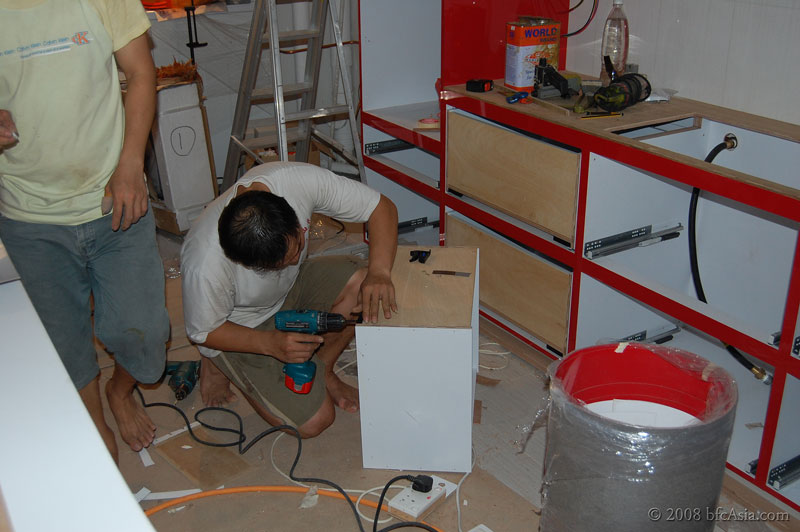
Installing the Hob Base Cabinet

Base Cabinet with six drawers

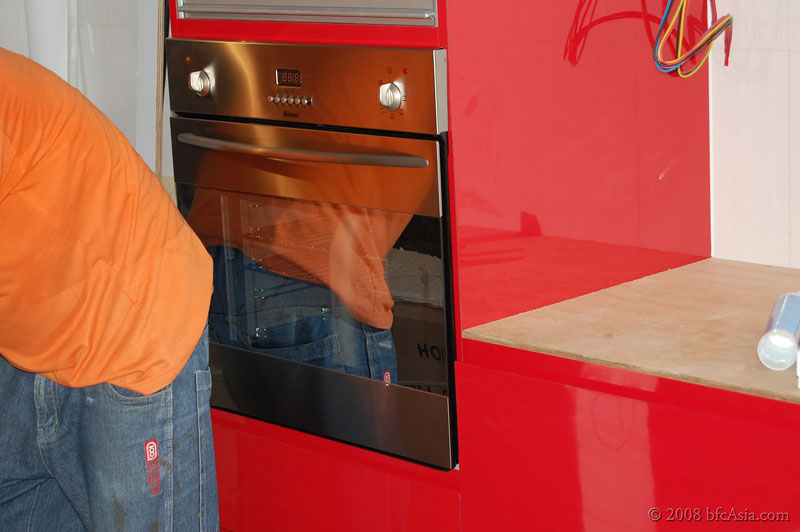
Placement of Oven Unit & Hob Base Cabinet Unit

Oven Unit & Base Drawer Unit

Oven in place

Glueing Laminate to Oven Unit

Attaching runners to drawer base

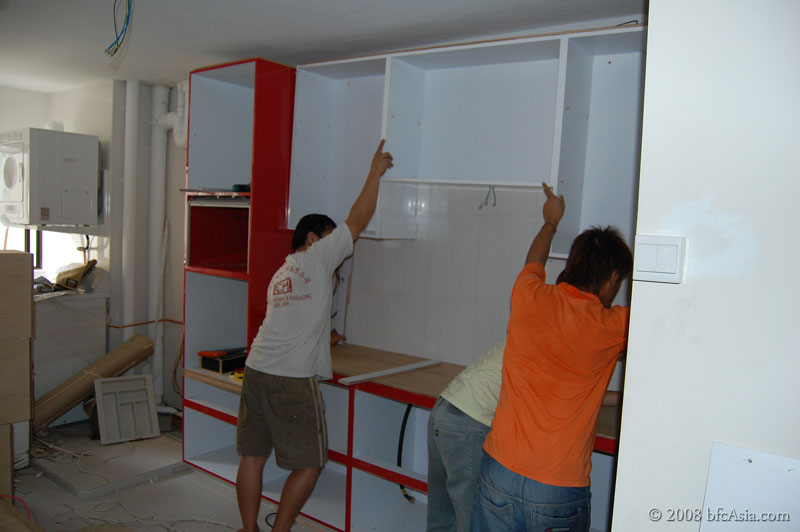
Placing Cooker Hood Unit

Cooker Hood Unit Hoisted

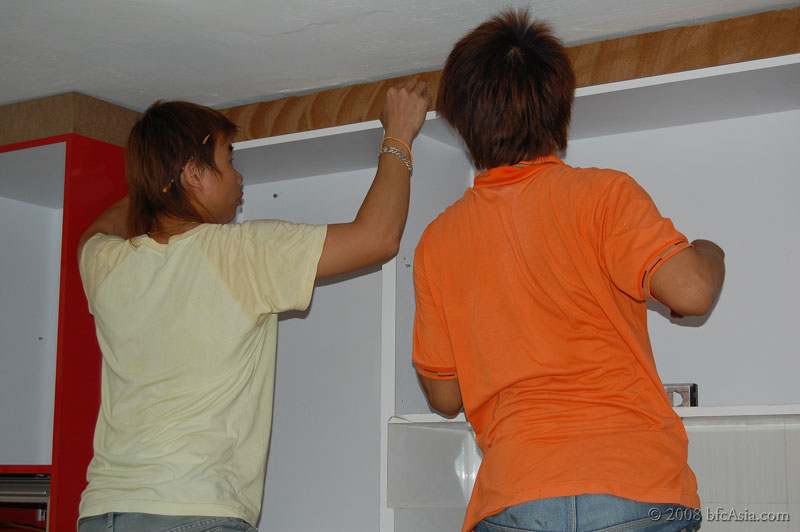
Laying the Cabinet Pelmet after glue application

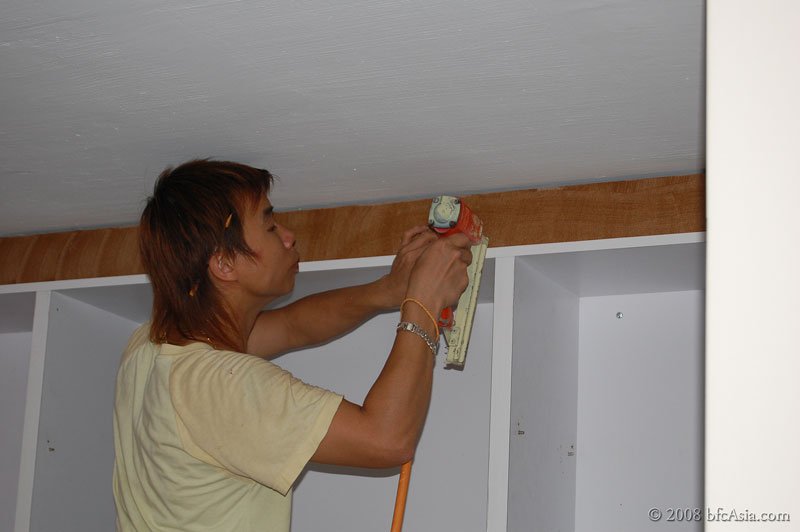
Stapling Pelmet with compressed air gun

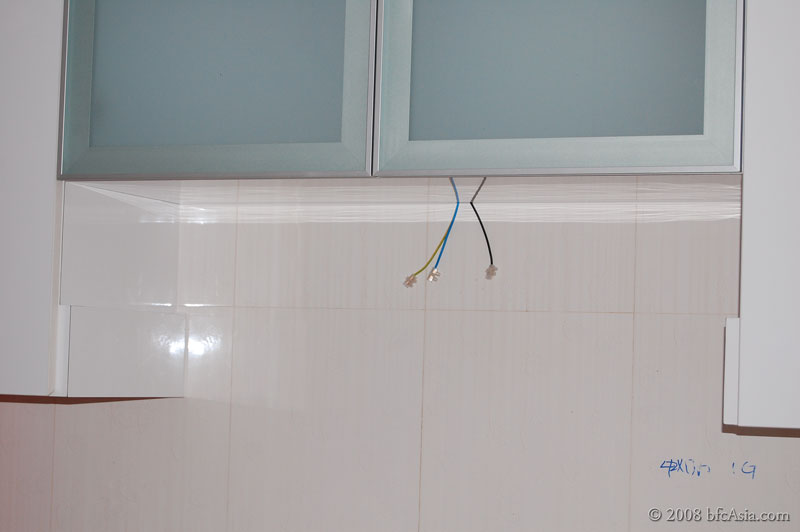
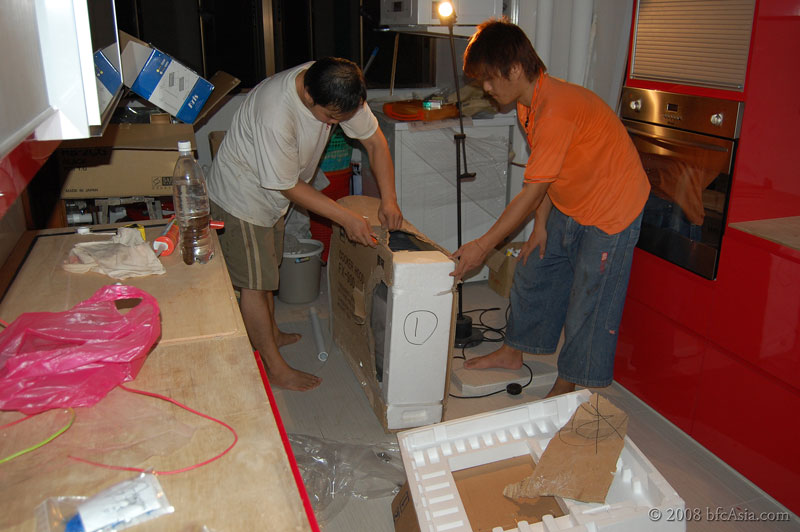
Unpacking cooker hood before installation

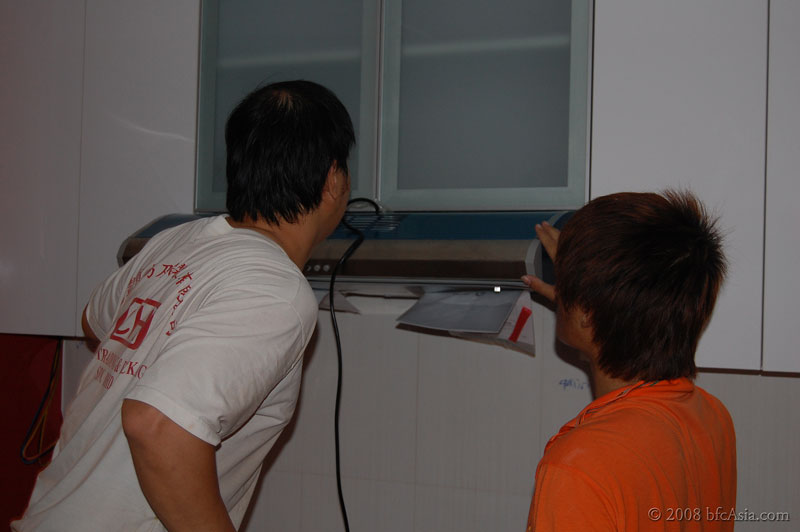
Cooker Hood Unit

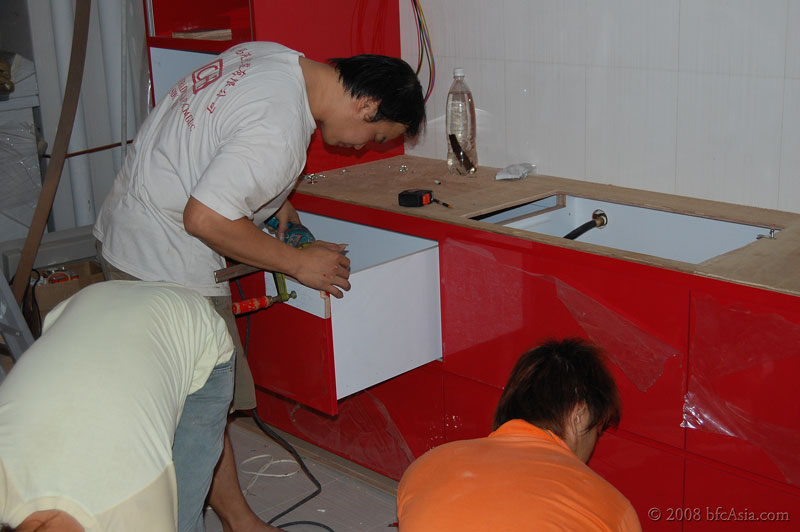
Fixing front to Drawer


Related Posts: Workmanship: Kitchen Works
1 Kitchen: Cooking & Food Storage Zone
2 Kitchen: Microwave Oven Cabinet
3 Kitchen: The Sink Unit
4 Kitchen: Food Preparation & Cleaning Zone
5 Kitchen: Worktop & Kitchen Sink
6 Kitchen: Kitchen Splashback

Workmanship Series
 1 Good Workmanship
 2 Workmanship: Dispute Resolution
 3 Workmanship: Walls & Floor
 4 Workmanship: Laminated Floor
 5 Workmanship: Electrical Work
 6  Workmanship: Air-Conditioner
 7 Workmanship: Doors & Architrave
 8 Workmanship: Gas Piping & Gas Dryer
 9 Workmanship: Kitchen Works
10 Workmanship: Hide Ugly Pipes
11 Workmanship: Windows
12 Workmanship: Plumbing

Workmanship: Dispute Resolution

Workmanship Series
 1 Good Workmanship
 2 Workmanship: Dispute Resolution
 3 Workmanship: Walls & Floor
 4 Workmanship: Laminated Floor
 5 Workmanship: Electrical Work
 6  Workmanship: Air-Conditioner
 7 Workmanship: Doors & Architrave
 8 Workmanship: Gas Piping & Gas Dryer
 9 Workmanship: Kitchen Works
10 Workmanship: Hide Ugly Pipes
11 Workmanship: Windows
12 Workmanship: Plumbing

Disputes are bound to happen in any home renovation. Mine was no different. Though I was hard-nosed and demanding when it came to workmanship issues, I was also tolerant and non-confrontational. Amiable, in fact. I dislike abhor arguments and always avoid disputes as far as possible. To me arguments or disputes are non-productive. A waste of time and energy. In my case I was fortunate my ID was of the same ilk. We resolved major workmanship issues by focusing on possible solutions, not on who's right or wrong. We often discussed with a give-and-take attitude. That is, I always gave, he often took! *grin* Though there were occasions when I was unyielding. And he reciprocated by giving way to me. So we got along fine.

The Preliminaries
A major aspect of Dispute Resolution is therefore to choose your ID wisely. If you have a temperamental ID, you are headed for trouble even before renovation starts. If your ID is even-tempered and patient, disputes are less likely to happen. In my case, I assiduously avoided IDs who were impatient, short-tempered, and non-communicative. Those were struck off early from the short-list. But how did I know they were temperamental? Well, I gave each a personality test. That is, bombard the ID with questions. Bug, not merely ask, the ID for the quotation. Be loud. Be rude. Have an attitude. And observe how he responds. If you follow my example, you'll quickly know which ID is patient, even-tempered, can get along with.

You would also want to test the ID on his knowledge, contacts, and how he resolves problems with workers. That would give you an idea of his competence. Sure, no ID is perfect - but it helps to know where you stand with regard to the ID's personality, knowledge, competence, problem-solving ability. And how he treats and relates to his workers.

Finally, after going through the preliminaries, including site visits, you are now left with the final 2. One of whom you will select for your home renovation. The other would be a reserve in case the one you select pulls out at-the-last-minute. That happened to me, related in another post.

You will now want to discuss with the ID a method to resolve disputes. Just in case problems arise during renovation.

Disputes & Resolution Mechanism
Disputes and disagreements in the course of your home renovation may be easier to resolve if you and the ID first sit down together and agree on - for want of a better term - a dispute resolution mechanism.

First, you and the ID should agree on a standard of workmanship for your home renovation. You must be clear and explicit on the standard acceptable to you. To be clear and explicit, use photos of flats whose workmanship standard you and the ID can accept.

Second, tell the ID if there's a mistake in the work carried out, and you're unhappy with the work done, you have the right to withhold payment. And you will make payment only when the mistake has been rectified to your satisfaction. Agree with the ID mistakes are something that can be i) seen &/or ii) felt. Example: tiles of a different color from what you've ordered. Or worktop cracked and scratched badly by the workers. Or granite floor tiles that are not properly laid so that you could feel rough edges as you walk on the completed granite floor - a problem easily rectified with re-polishing after the floor tiles have been laid.

Tell the ID you're also penalized indirectly for any mistake made by the workers, because the home renovation will be delayed by the rectification work that has to be carried out.

But what if the ID or the workers are unable to correct the problem identified? Well, get the ID to agree when that happens you have the right to appoint another contractor to carry out the job. And to deduct the amount required from the renovation contract.

Finally, to underpin the resolution mechanism, payment for the renovation work should proceed in accordance with work completed, not upon delivery of materials to your home. Or based on a payment schedule that does not correlate with the actual work completed. That means you should not accept a quotation with progress payment based on the ID's schedule.

Summary
1 Show the standard expected - agree on what is good workmanship through photo examples
2 If poor standard, right to withhold payment
3 If still not good nor rectified, right to deduct from ID contract amount to pay another contractor
4 Be a reasonable guy - not asking for the sky, not hard to please, but fair, with a give-and-take attitude
5 Pay according to work done, not to ID's proposed contract

Workmanship Series
 1 Good Workmanship
 2 Workmanship: Dispute Resolution
 3 Workmanship: Walls & Floor
 4 Workmanship: Laminated Floor
 5 Workmanship: Electrical Work
 6  Workmanship: Air-Conditioner
 7 Workmanship: Doors & Architrave
 8 Workmanship: Gas Piping & Gas Dryer
 9 Workmanship: Kitchen Works
10 Workmanship: Hide Ugly Pipes
11 Workmanship: Windows
12 Workmanship: Plumbing

Workmanship: Laminated Floor

Workmanship Series
 1 Good Workmanship
 2 Workmanship: Dispute Resolution
 3 Workmanship: Walls & Floor
 4 Workmanship: Laminated Floor
 5 Workmanship: Electrical Work
 6  Workmanship: Air-Conditioner
 7 Workmanship: Doors & Architrave
 8 Workmanship: Gas Piping & Gas Dryer
 9 Workmanship: Kitchen Works
10 Workmanship: Hide Ugly Pipes
11 Workmanship: Windows
12 Workmanship: Plumbing

Revamp of Original Post

WORKMANSHIP: LAMINATED FLOOR
When we were shown color swatches of Premier laminated floor tiles, we decided to choose the same laminated floor sample that was used in Summit's own bedroom showroom.

The tilers came and laid out the bedroom floors in one afternoon. When we first saw the completed floor, we got a rude shock. Apparently there had been a miscommunication between Summit's office and the supplier. The tiles laid on our bedroom floor was so much darker that what we had chosen. Not only was

the wrong colored tiles laid, but contrary to our instruction the workers laid the laminated strips to align with the room breadth instead of the length. The ID instructed the workers to re-do the laminated floor tiles after LNY using a lighter shade of brown. And to lay the laminated tiles in accordance to our wishes. And so it was.

Before and After - blue is the Guest BR, green is the MBR

Preparing to Do the Side Strip

Doing the Side Strip

Cleaning & Finishing up


However, the replaced floor tiles still looked too dark for our liking.

Nevertheless, this time we decided to accept it (~sigh~) because the laminated tiles were laid very nicely. It would be wasteful to re-do the floor tiles again. In any event, most of the floor space would be taken up by the bedroom furniture and furnishings, minimizing the impact a darker tone would have on the occupants.

So, never choose a tile based on someone's else reference or hearsay. Or your own recollection of something you might have seen previously. In our case the mistake

was made because we had asked the ID to use the floor tile that was used for the showroom in Summit's office. The ID called his office staff who then gave the supplier an incorrect color code for the tiles.

Summit's showroom had been completed some time ago. We suspect possibly no one in the office knew what the original color code for the showroom's laminated tile was. Or maybe that particular floor tile had been phased out and a newer range launched with different color codes? No one seemed to know. The ID insisted the replaced tiles looked the same as the tiles used in his showroom, although it certainly looked much darker to my eyes. I was not one to argue for the sake of argument, as the tiling had been completed.

So I let the matter rest.

LESSON:
Always choose a sample material with its color code written down as a reference after you have seen and selected the specific color sample with your own eyes. and ask the office to confirm with the supplier that the same color is still available!

WORKMANSHIP
Next, how does one judge the workmanship, aside from physical appearances of the laminated flooring?

Well, step on the floor, and you will instinctively "feel" the difference i.e. if you have walked on parquet flooring previously. Whereas parquet floors give you a solid feeling underfoot, laminated floors lack that solid feel underneath, giving a "floating" sensation instead that some may not like.

This is because laminated tiles "float" on a thin sheet of plastic foam material as an underlay, and the individual pieces of laminated tiles are "locked" together using a glue-less click system, akin to a tongue-and-groove method. Now, if the underlying floor surface is uneven or not perfectly level, the "floating" sensation is heightened.

In fact, prior to engaging my ID I was given a show-around and in some flats' bedroom I could sense the floor slightly "sinking" under my bodyweight as I stepped on the floor. This was due to the trapped air beneath the laminated tiles in areas where the floor was not perfectly even or level.

Hence it is absolutely essential that the floor be perfectly level before laying the laminated tiles.

In my case we were lucky, because the previous owner had used ceramic tiles for the bedroom, and laying over such a floor with laminated floor tiles produced less of the "floating or sinking" sensation.

FOOTNOTE: I was surprised to see the word "PERGO" printed on the T-shirts of the guys doing the installation of my laminated floor tiles. Not only on one but on both of them, like they were wearing a uniform of sorts!

Since PERGO is a trademark and a reputable brand, I do not think anyone could simply wear T-shirts emblazoned with the PERGO brand name. Consumers maybe, but definitely not tradesmen such as laminated tile installers!

So, why would PERGO people install a non-PERGO product such as Premier laminated floor tiles? Is Premier somehow related to Pergo? Perhaps Premier is a sub-brand made by the producer of PERGO in order to price compete against China-based producers of laminated floor tiles?

Mystery Deepens
I was unable to find any info on the web concerning the Premier laminated floor tiles, although Premier laminated tiles are quite popular in the Singapore market.

PERGO Floors exhibited at Eastpoint Mall

Just yesterday (12-Mar-08) I was at the Simei MRT station at Eastpoint Mall. Someone was exhibiting PERGO floors at $7.90 psf (premium range) and $6.80 psf (standard range) for PERGO tiles produced in Sweden, both ranges come with lifetime warranty and another range priced at $4.50 psf, with 15 years warranty period, claimed by the saleslady to be produced by PERGO in Malaysia.

If true, could this lower-price range be sold under the PREMIER brand name in Singapore?

Some producers may not wish to be associated with a low-priced product range so as not to dilute the brand equity of its high end product.

It is possible the ID's supplier also handles PERGO laminated floor tiles, so it should not be surprising that the installers wore T-shirts with PERGO printed on them.

But the PERGO promotion at Simei introduced the possibility of a low-price range of

laminated floor tiles claimed to be produced by PERGO in Malaysia, something I did not hear of previously. Could this low-price range be marketed under the PREMIER (and similar) brand name in Singapore? As floor tiles are produced by factories on a large scale to make economic sense, it is quite possible the same factory-produced tiles are marketed under different brand-names, and priced differently, to absorb the production.

I believe there may be more to it than meets the eye here.

ADDENDUM: March 2011
Recently I was asked if there's a difference whether tiles are laid in a room breadth-wise or length-wise? Yes, most definitely! Tiles laid aligned lengthwise i.e. the length of the laminated strips laid in the same direction as the length of the room floor, appear more "correct" to our senses. Maybe it has something to do with one's perception that a woman with a "slim and long" figure is more elegant than one who is "short and stubby"? Think men's suit or women's gown - I have never seen a guy wearing a suit with horizontal strips. It's always vertical strips, top to bottom.

Unless, of course, he's a prisoner!


Workmanship Series
 1 Good Workmanship
 2 Workmanship: Dispute Resolution
 3 Workmanship: Walls & Floor
 4 Workmanship: Laminated Floor
 5 Workmanship: Electrical Work
 6  Workmanship: Air-Conditioner
 7 Workmanship: Doors & Architrave
 8 Workmanship: Gas Piping & Gas Dryer
 9 Workmanship: Kitchen Works
10 Workmanship: Hide Ugly Pipes
11 Workmanship: Windows
12 Workmanship: Plumbing

Workmanship: Electrical Work

Workmanship Series
 1 Good Workmanship
 2 Workmanship: Dispute Resolution
 3 Workmanship: Walls & Floor
 4 Workmanship: Laminated Floor
 5 Workmanship: Electrical Work
 6 Workmanship: Air-Conditioner
 7 Workmanship: Doors & Architrave
 8 Workmanship: Gas Piping & Gas Dryer
 9 Workmanship: Kitchen Works
10 Workmanship: Hide Ugly Pipes
11 Workmanship: Windows
12 Workmanship: Plumbing

Revamp of Original Post

I wanted an electrician independent of the ID to ensure fair and reasonable pricing. And for other reasons that I don't want to delve into here. So I called

several electricians and agencies from the ST Classified Ads. Two weeks lapsed quickly. But I was unable to settle on one. Finally I turned to my ID for his contact. Sure enough, he had one 'ready-to-go'. With correspondingly high prices to match - higher than the market's. I persuaded myself to go along with my ID. He - together with his teams - had produced a high quality of work so far. And that was reason enough to pay a premium for Koh, his regular electrician. However, I soon realized I had a problem:

Koh couldn't speak English - *sigh* - he spoke mostly Hokkien. Not only that, my wiring sketch, showing all the electrical points I had planned with annotations and explanations, was also totally ignored! I found that out a few days later when there were several mistakes because he did not follow the plan. Oh, not only Koh couldn't speak English, he couldn't read as well! *sigh-sigh*

Well, not one to ask the guy to absorb costs due to mistakes made - not if I could help it - I reviewed my sketch, decided to make-do with the mistakes and amended my wiring plan accordingly.

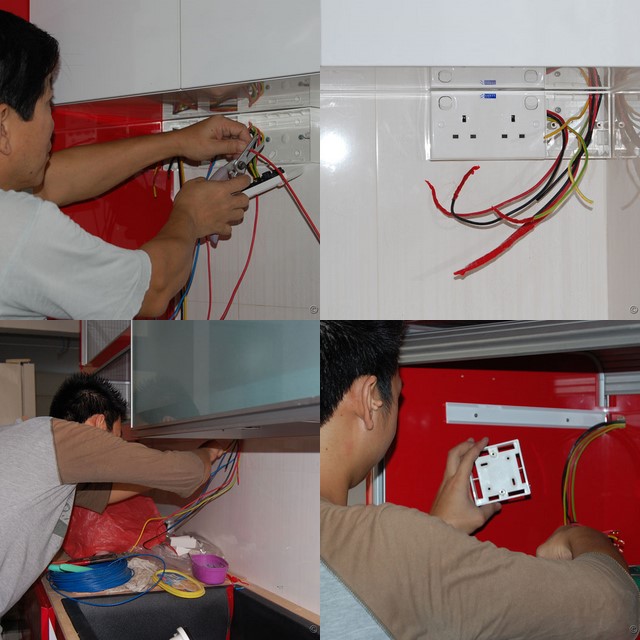
The following photos showed the completed wiring done. The kitchen wiring had to be carried out in two stages, the last stage being only after the cabinets, glass backsplash, burner hob, cooker hood, water heater, gas dryer, etc had been put up.

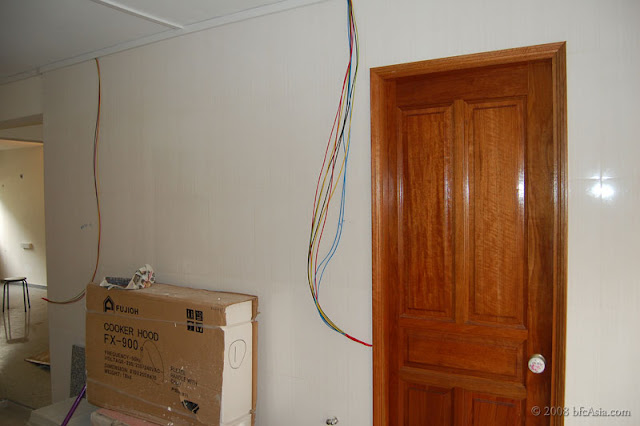
Completed wire runs awaiting installation of kitchen cabinets:

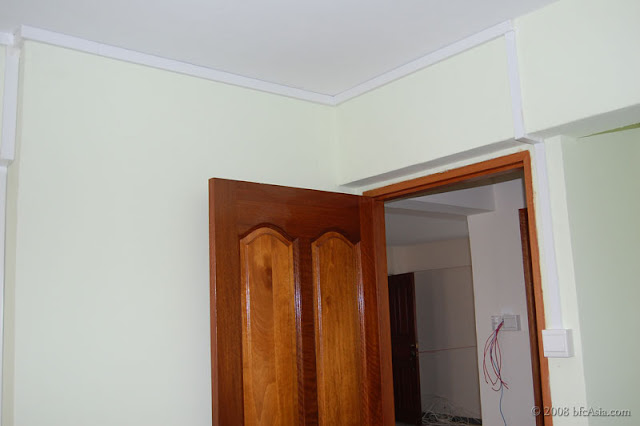
Bedroom ceiling wiring completed

Power socket completed in bedroom

Bedroom 2 wiring with power socket, ceiling light switch

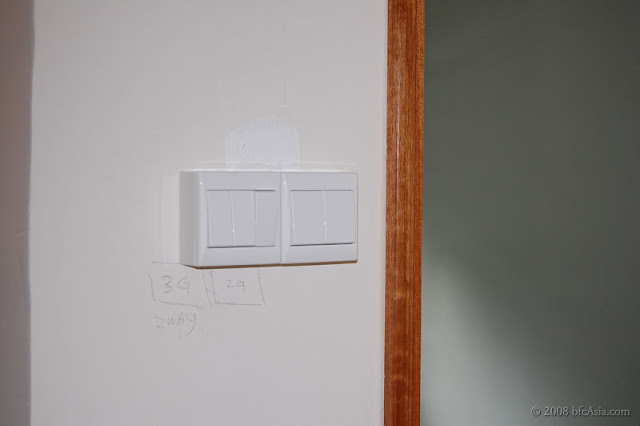
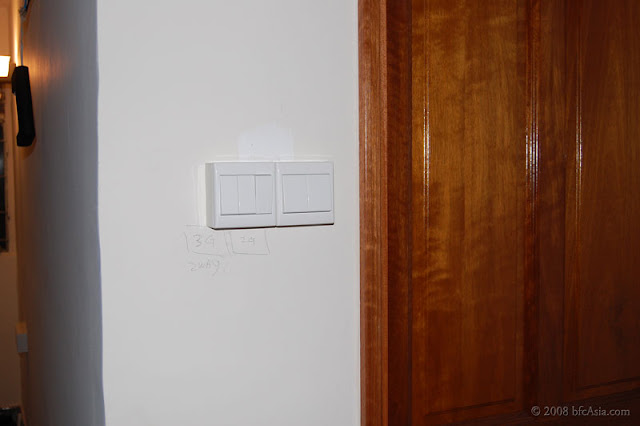
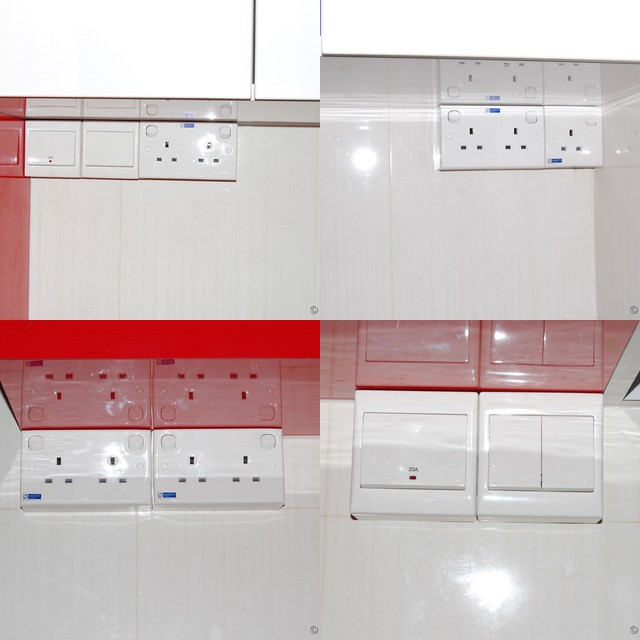
Switches for dining, study and living room area spaces: ceiling lights, ceiling fan, wall lights

Another perspective

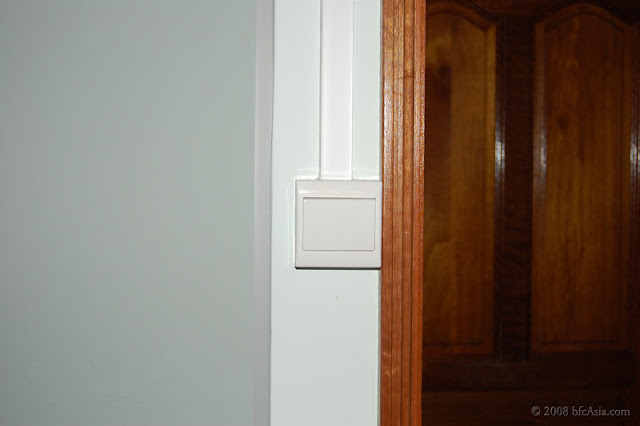
Switch in MBR for fan-cum-lights

The electrician Koh came on Wed 23rd April with two assistants to do the wiring for the kitchen cabinets. Several weeks earlier he had already completed the electrical wiring for the apartment, so this was to be a 1-2 hours' work only.

Electrical connection for Oven, Hood, Microwave, Power Sockets

Completed Electrical Connections:
We could not fix the switches at our preferred locations outside the bathroom or toilet walls, because the space outside the toilet would be taken up by the wash basin and mirror, while the space outside the bathroom was occupied by the dish drainer and sink.

Hence the switches for the water heater and toilet / bathroom lights were sited under the roller shelf unit.

Microwave Oven Cabinet with Roller Door

The workmanship and finish of the Malaysian carpenters on the kitchen cabinets was surprisingly good, on par with designer kitchens displayed at posh showrooms in

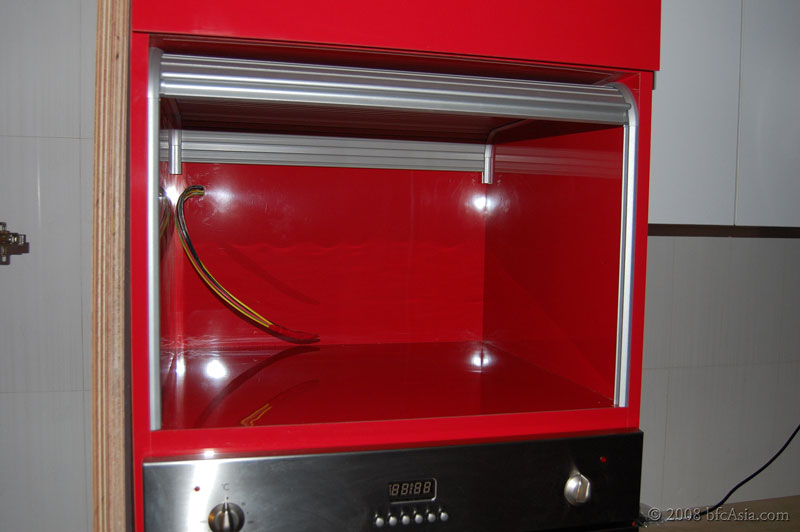
town. An example is the microwave cabinet. Care and technical competence were displayed in the cabinetry work for the microwave oven. The Malaysians, probably on the ID's directions, had applied the same laminate to the cabinet interior as the exterior, to blend in with the overall design and look when the cabinet roller door is open.

Interior blends in aesthetically with the exterior:

Where the Malaysians fell short of was in the area of foresight and meticulous attention to detail. In other words, the workmanship was excellent but not perfect.

For instance, after Koh had fixed the electrical switch for the microwave oven, I decided to place the oven into the cabinet to try the switch.

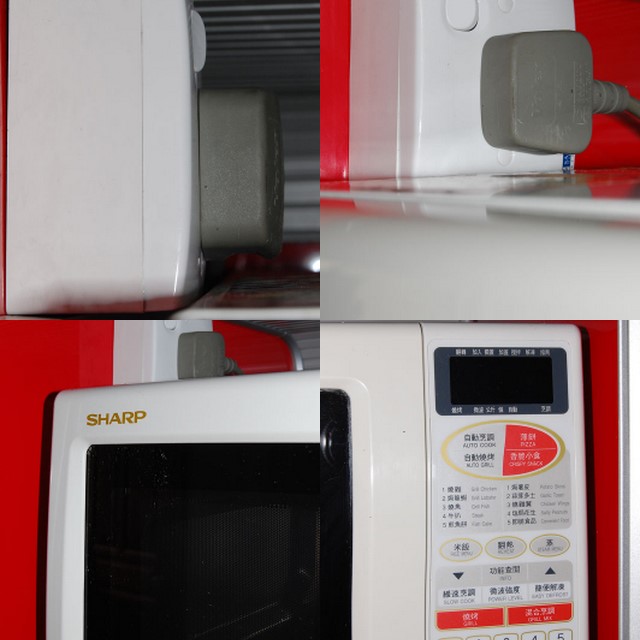
And we got stuck: we could slide in the microwave oven but could not plug in the microwave oven. The electrical plug was in the way. The carpenters had not made sufficient allowance for the oven's plug!

Koh gave me a clueless look. I thought long and hard - and came up with a solution: I asked Koh to re-install the single socket rotated 90 degrees, so that the plug would not get in the way of the oven. We were then able to slide the oven into the cabinet -- fortunately!

Tight allowance between socket and oven:

Possibly the ID or the carpenters had forgotten the roller door would take up space inside the cabinet. The height of the cabinet should have been raised by 1-inch to provide clearance for the socket+plug combination.

The oversight happened because mine was a non-standard requirement: I had asked the ID to fix a roller door on the microwave oven compartment. That way we could use

the compartment for storage if we need additional storage space in our kitchen in future. We would then place the microwave oven on the worktop instead.

The roller door could remain open for easy access to the microwave oven, and closed if the compartment is used as a storage space.

Now, isn't that a neat dual function idea?

Workmanship Series
 1 Good Workmanship
 2 Workmanship: Dispute Resolution
 3 Workmanship: Walls & Floor
 4 Workmanship: Laminated Floor
 5 Workmanship: Electrical Work
 6  Workmanship: Air-Conditioner
 7 Workmanship: Doors & Architrave
 8 Workmanship: Gas Piping & Gas Dryer
 9 Workmanship: Kitchen Works
10 Workmanship: Hide Ugly Pipes
11 Workmanship: Windows
12 Workmanship: Plumbing

Workmanship: Doors & Architrave

Workmanship Series
 1 Good Workmanship
 2 Workmanship: Dispute Resolution
 3 Workmanship: Walls & Floor
 4 Workmanship: Laminated Floor
 5 Workmanship: Electrical Work
 6  Workmanship: Air-Conditioner
 7 Workmanship: Doors & Architrave
 8 Workmanship: Gas Piping & Gas Dryer
 9 Workmanship: Kitchen Works
10 Workmanship: Hide Ugly Pipes
11 Workmanship: Windows
12 Workmanship: Plumbing

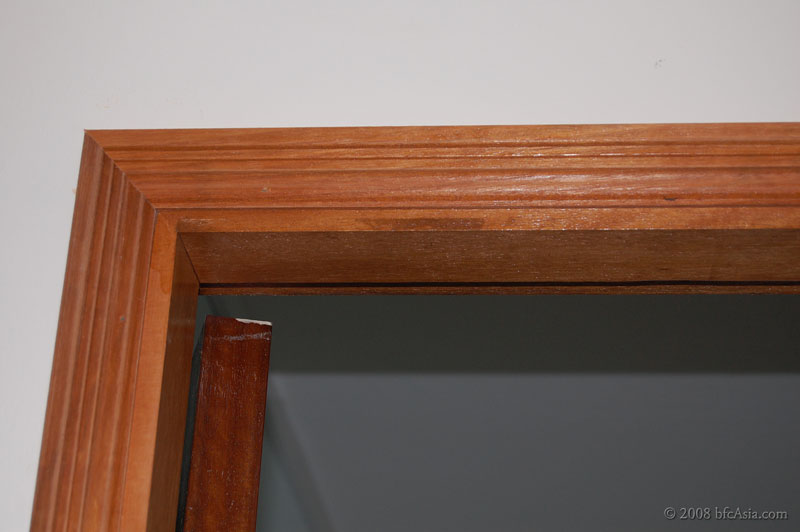
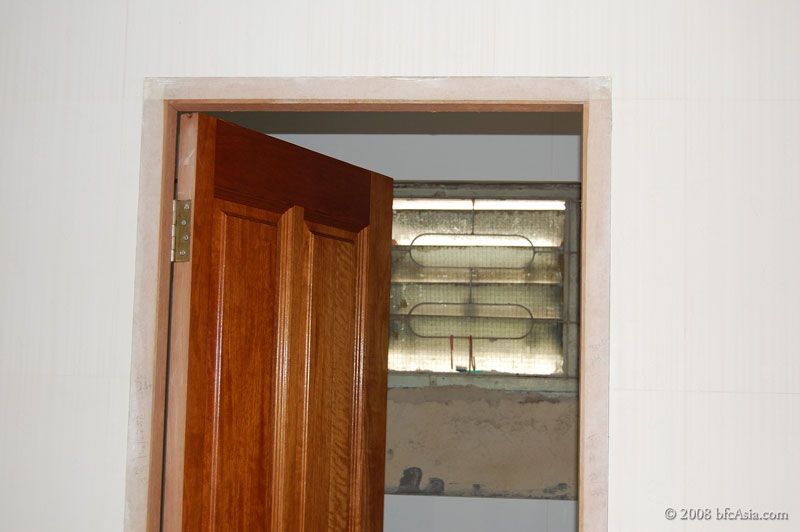
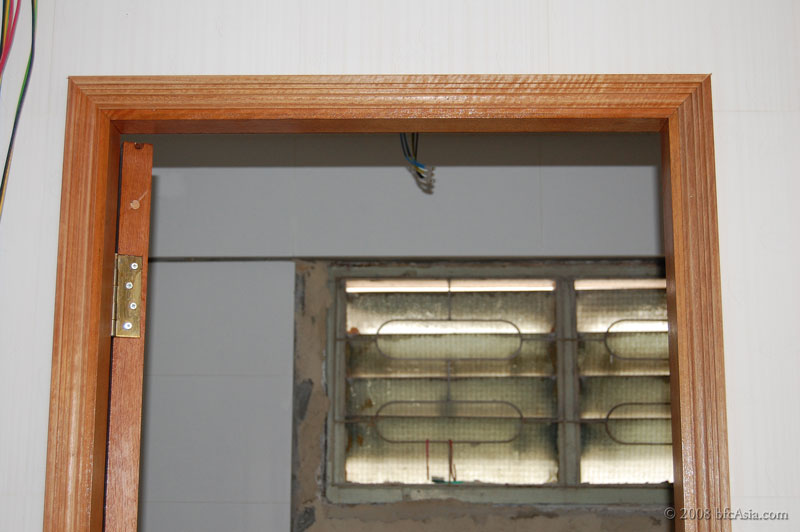
The photos below show in detail the workmanship with respect to the doors, frames and architrave for the bathroom, toilet, and bedrooms. Note that all the doors and hardware i.e. lockset, door knob, stainless steel hinges for this HDB flat came from our old apartment. They were in good condition and we felt it was a pity to trash them. Although the doors were installed at our old apartment in 1988 some 20 years ago, they still look astonishingly good despite their age. hmmm...makes me wonder how would you know the doors you had ordered from your ID were not in fact refurbished goods? *grin*


Musings aside, we felt a tinge of sadness because we had to leave behind several doors, furniture, wardrobe, and cabinets that were still in good condition as our HDB flat could not accommodate all the beloved paraphernalia from the old apartment.*sigh*

Well, judge for yourself whether the workmanship was up to scratch:

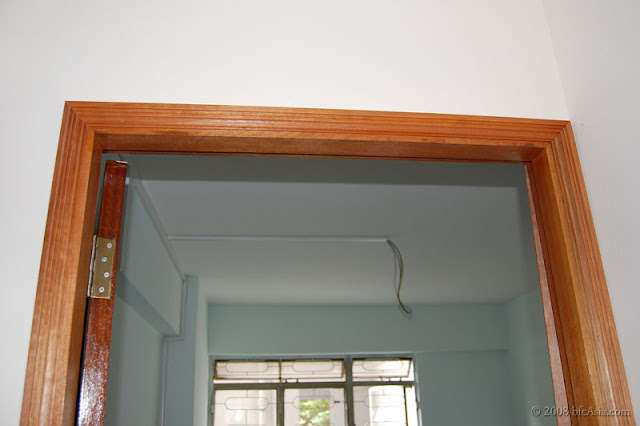
Closeup view to show accurate mitre-joint of architrave

Another perspective

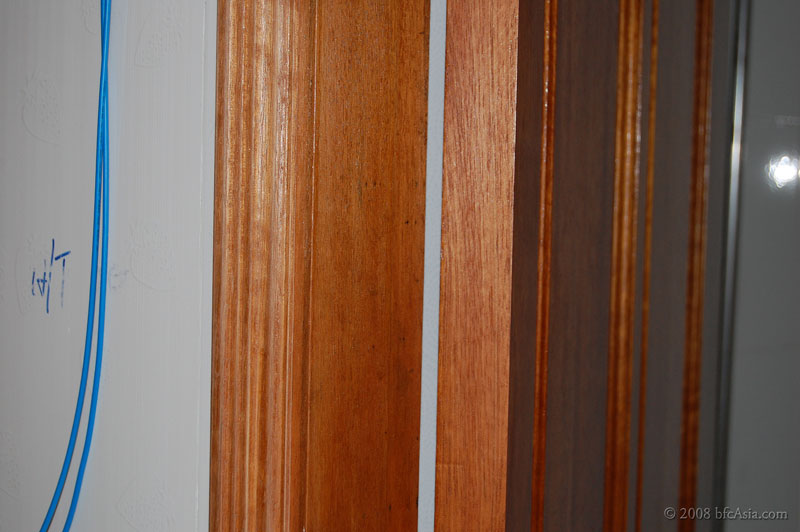
Closeup view of architrave, door frame, and door

Note how the architrave and frame seamlessly meld into a single solid piece?

Architraves
If you've never thought of fixing architraves to your doors, well you don't know what you're missing! Architraves are the wood moldings that frame a door, window or other rectangular opening. In other words, you use an architrave to dress up a door or window, without which the door would look plain. Just look at the "undressed" door vs the door with the architrave added:

Bathroom Door before fixing the architrave

Same door after architrave installation - what a difference!

Bedroom door before architrave

Bedroom room door with architrave

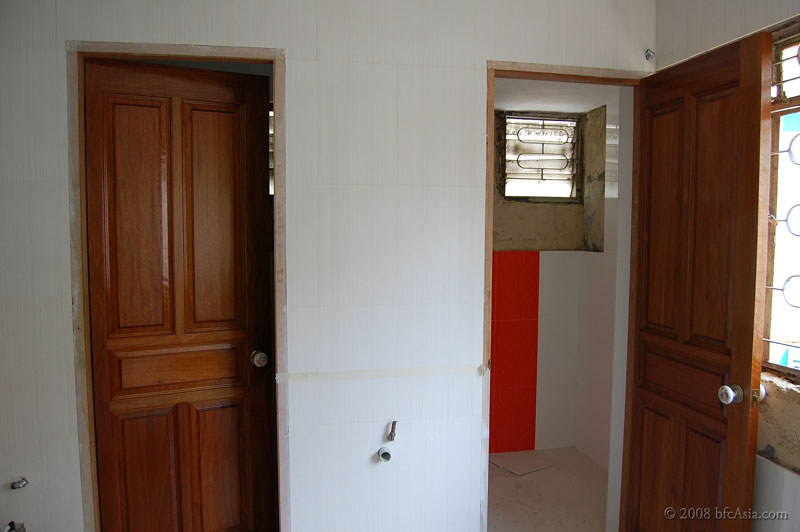
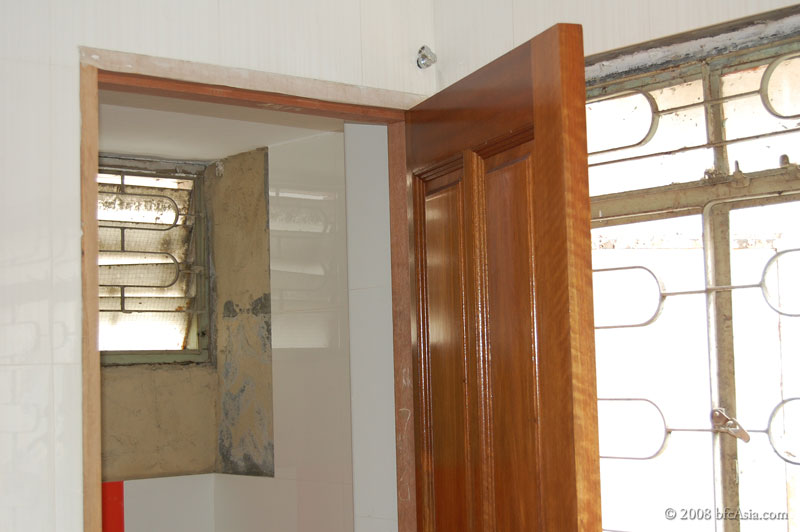
Plain door frame at bathroom and toilet

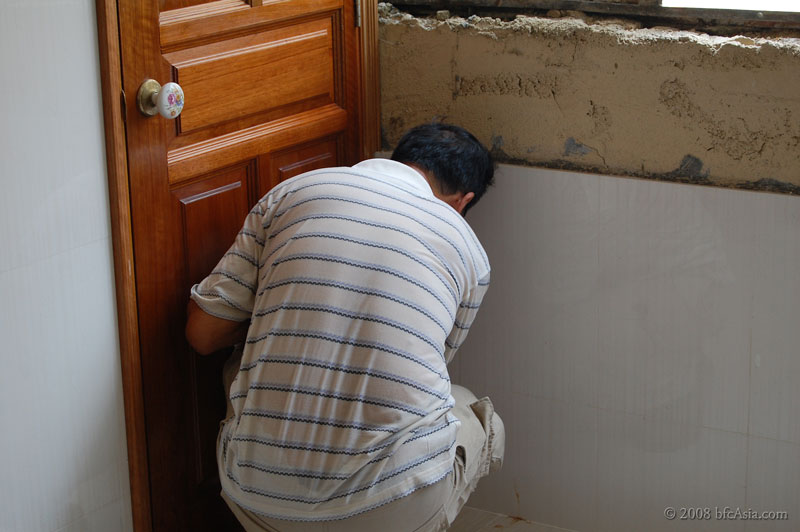
Door Fixing & Installation
I once tried to re-attach the doors of our beloved 2-door wide rosewood wardrobe. That item was bought from Cheng Meng as part of our bedroom suite. My dear wife had wanted to rearrange the furniture in the MBR (uh-oh, don't they do that all the time?). And I had to remove the 2 heavy wardrobe doors to lighten the load for the shift. In the process of re-attaching the doors, one of the bronze hinges broke.


Being a D-I-Y kinda guy, I bought a replacement set. Screwing on the hinge was simple enough. I found, however, getting the heavy mirrored door to align and shut correctly in perfect alignment with the other door was another proposition altogether. No matter what I did, I could never get the doors aligned! I was not one to give up easily however. But after several days of unmitigated frustration I finally realized getting the doors aligned was beyond me and I had to admit defeat!

Meet Mr Ding Men Hoo, a master carpenter

Door installation is thus not simply a matter of correct measurement, cutting the door to size, and screwing on the hinges to install the door at the job site. It is a complex job requiring a good eye, fine judgement, and skills honed by years of experience.

Meticulous attention to detail

I rue the day when skills such as door installation and fitting are no longer with us because the younger generation don't fancy picking up such skills: they prefer to work in an office environment instead.

I saw how the old master first fitted the door, then took it off, did some swift planeing here and there, all a matter of judgement, then re-fitting the door back again. He did that 2-3 times. Until he was satisfied with the fit and closure of the door. I was indeed fortunate and thankful these skilled craftsmen were still around to fix and install my doors.

Toilet door before architrave installation

Toilet door after fixing architrave

Bathroom door with architrave


Workmanship Series
 1 Good Workmanship
 2 Workmanship: Dispute Resolution
 3 Workmanship: Walls & Floor
 4 Workmanship: Laminated Floor
 5 Workmanship: Electrical Work
 6  Workmanship: Air-Conditioner
 7 Workmanship: Doors & Architrave
 8 Workmanship: Gas Piping & Gas Dryer
 9 Workmanship: Kitchen Works
10 Workmanship: Hide Ugly Pipes
11 Workmanship: Windows
12 Workmanship: Plumbing


Copyright © 2008-2011 bfcAsia - All photos and contents are copyrighted material of shunFoto.com • All Rights Reserved