1 Kitchen Design
2 Kitchen Zones
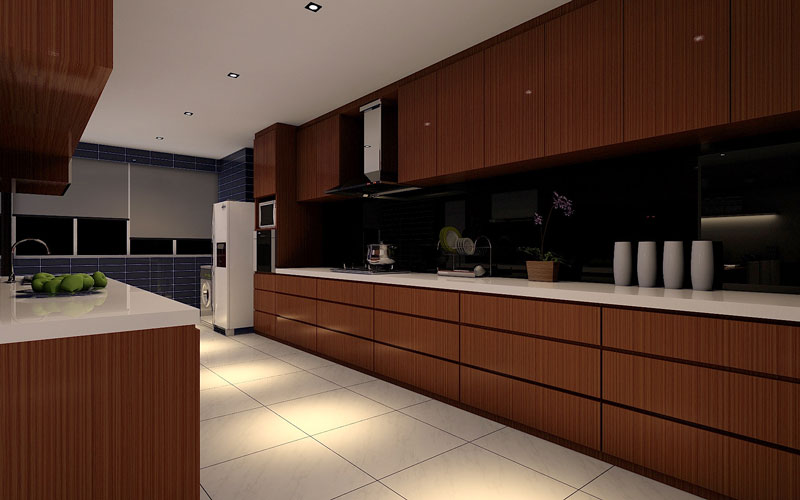
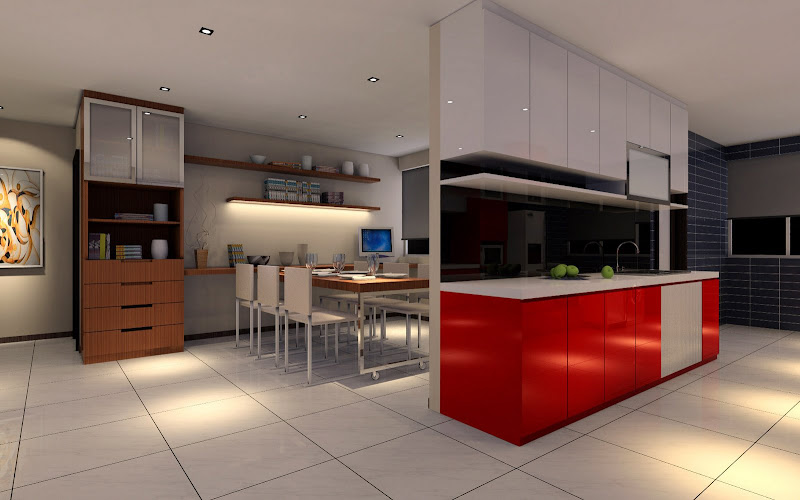
3 Perspective Drawing
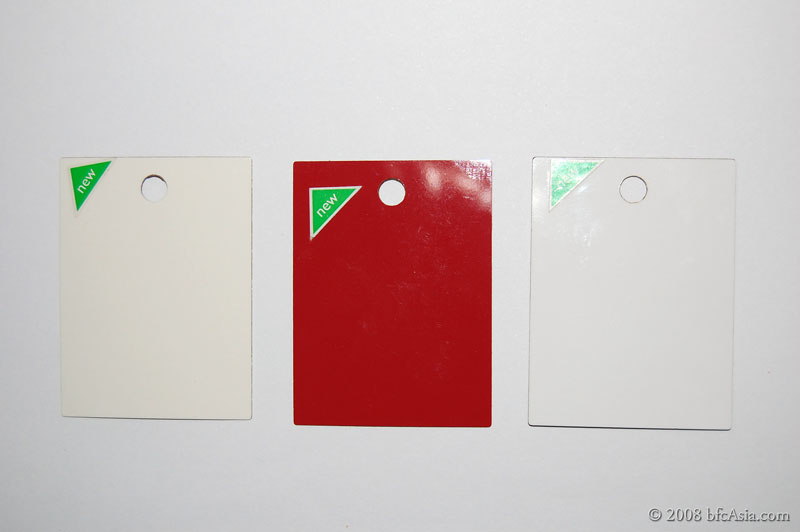
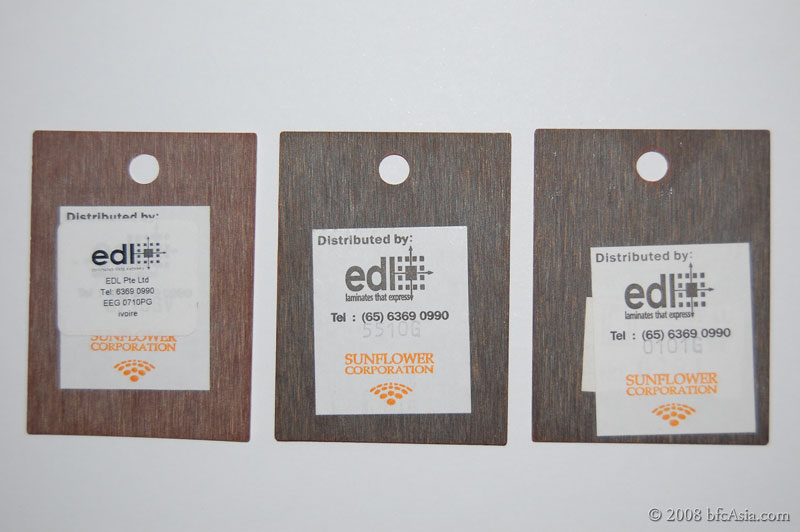
4 Kitchen Color Scheme
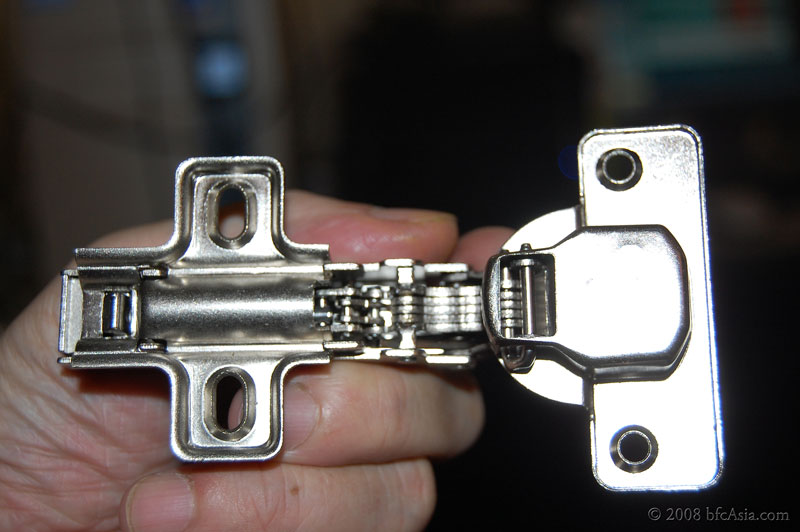
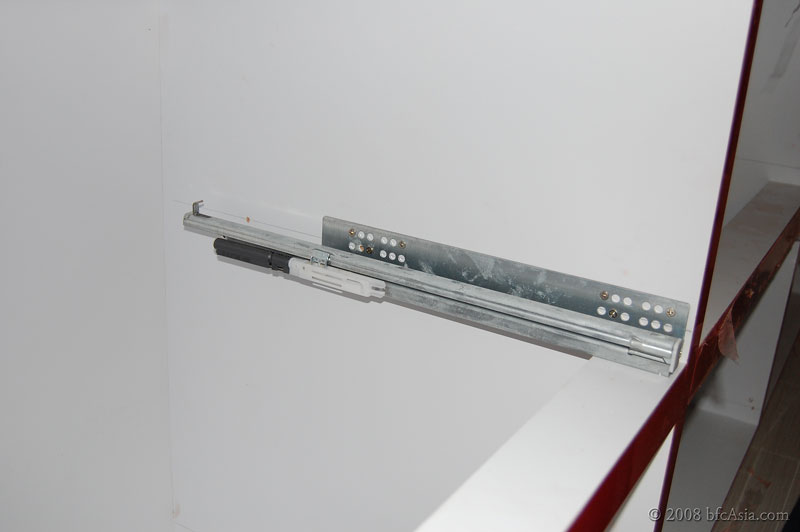
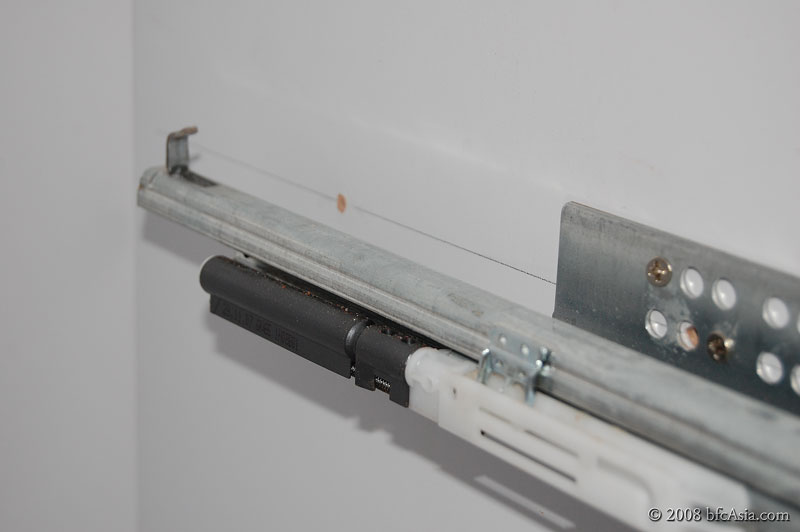
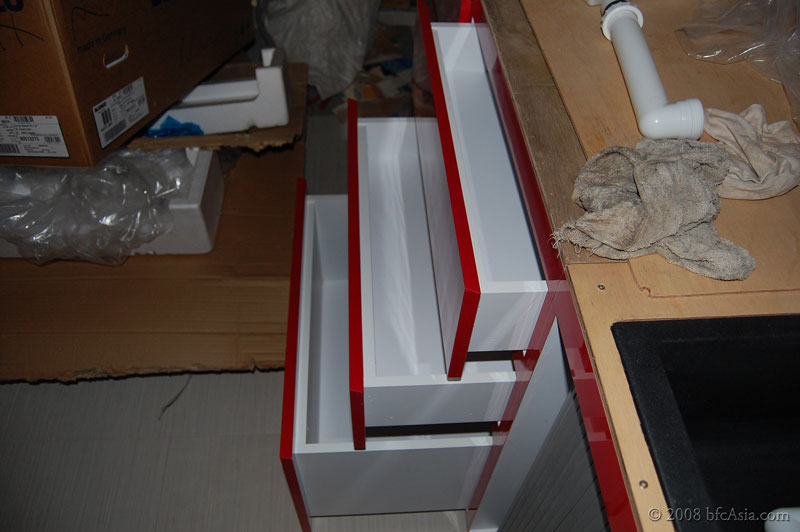
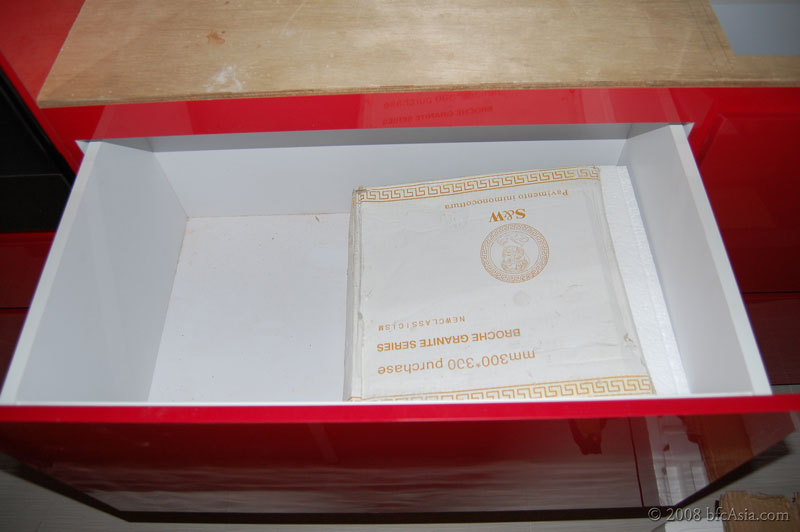
5 Kitchen Drawer System
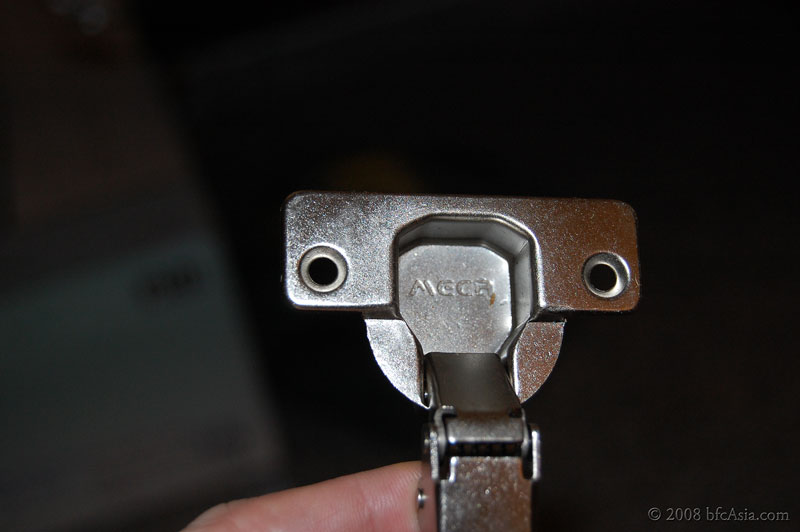
5 Hettich Drawer Slides & Runners
A reader asked why we did not position the cooker hob on the worktop next to the oven, consistent with the idea of a cooking zone where similar tasks are grouped in one location as indicated below:
Hettich's Five Kitchen Zones for:
- Food storage
- Food preparation
- Pots & pans
- Cleaning agents a& waste
- China & cutlery
Blum's Five Kitchen Zones for:
- Consumables storage
- Non-consumables storage
- Cleaning
- Preparation
- Cooking
We loved the ideas presented by Blum and Hettich. We however think it is ok to tweak the ideas a bit to suit our kitchen layout and needs.
Our kitchen zones
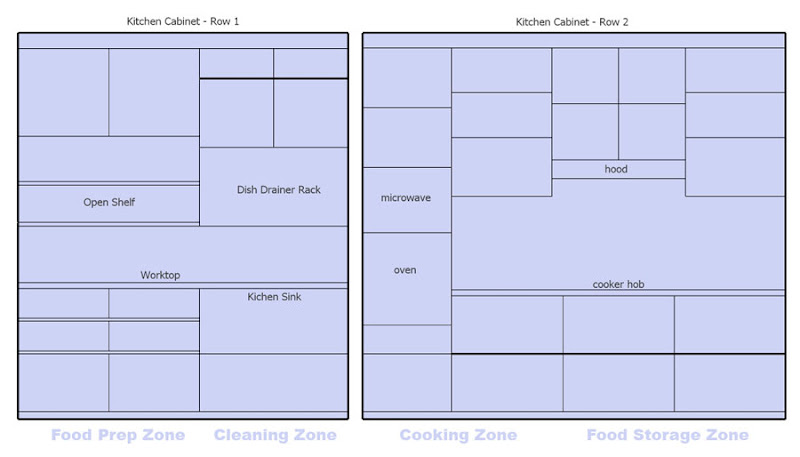
Thus we have worktop space on the left and right side of the cooker hob. That way we could place the condiment rack on the right side of the hob and cooked dishes on the left.
Owing to space constraints and kitchen layout, we had to place the large GE Profile refrigerator next to the oven cabinet. Our Food Storage Zone is therefore not contiguous but interspersed with units in the Cooking Zone.
When space and layout constrains you, do what suits you, no need to follow the rules religiously -- as long as the placement is logical and does not veer too far off from the ideal.
Cooking Zone
We don't strictly demarcate an area for the Cooking or Storage Zones, but realized both could overlap without losing their purpose or function.
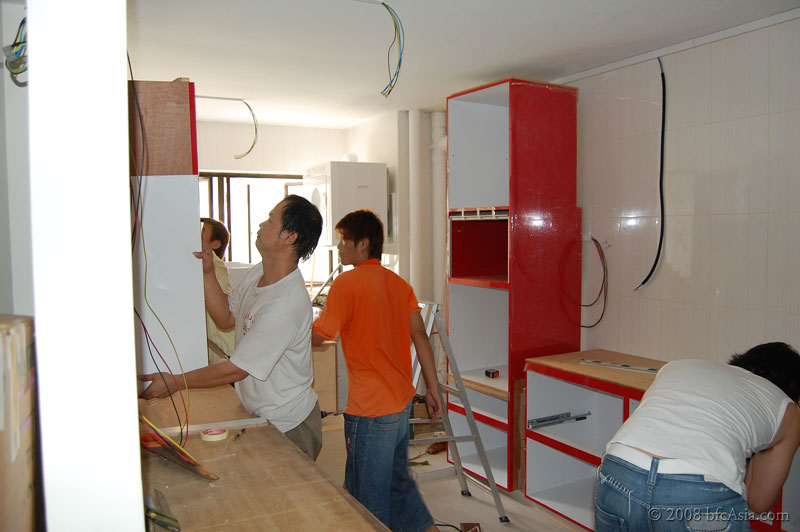
The Cooking Zone comprises the tall cabinet with the microwave and oven contained therein, and stretches all the way to the cooker hob and suction hood. In between we fixed electrical sockets to plug in electric appliances used occasionally e.g. slow cooker.
Cooking Zone

Below the worktop in between the tall cabinet and the cooker hob are the deep drawers for storing non-consumables e.g. aluminum foil, cling wrap, tongs, trays, extra plates, glasses and cutlery for guests, and so on.
Obviously, items we need for cooking, such as corn or olive oil, condiments such as soy sauce, vinegar, maggi seasoning, etc and spices such as pepper and chilli oil,
Originally we had planned to keep the condiment rack in the deep drawer under the hob. But found the drawer was not deep enough to accommodate tall bottles such as those of soy sauce, vinegar or shiao xing wine. We could have used smaller bottles, but didn't like the idea of always running out of ingredients when we needed them.
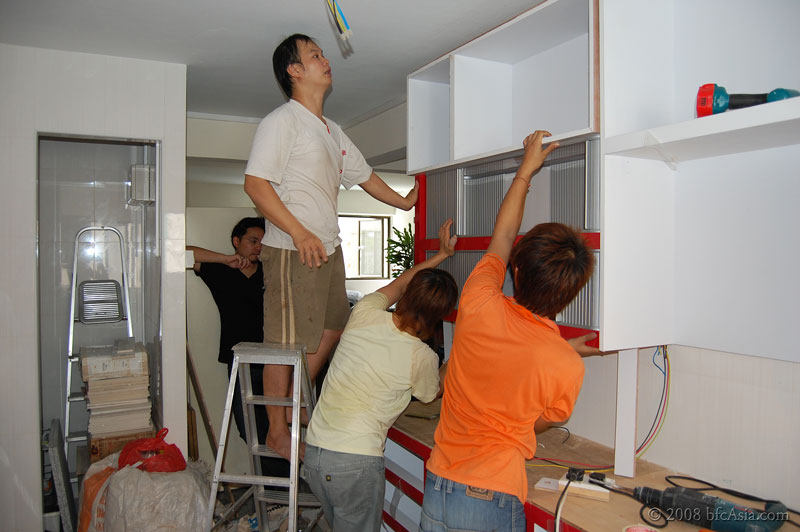
Consumables & Non-Consumables Zones
The non-consumables are basically stored in deep drawers and on wall cabinet shelves in the Cooking zone. Aluminum foil, cling wrap, tongs, ladles, extra plates and cutlery for guests, etc (non-consumables) are stored there.
For consumables storage, we placed dried goods and canned foods in the deep drawers to the right of the hob.
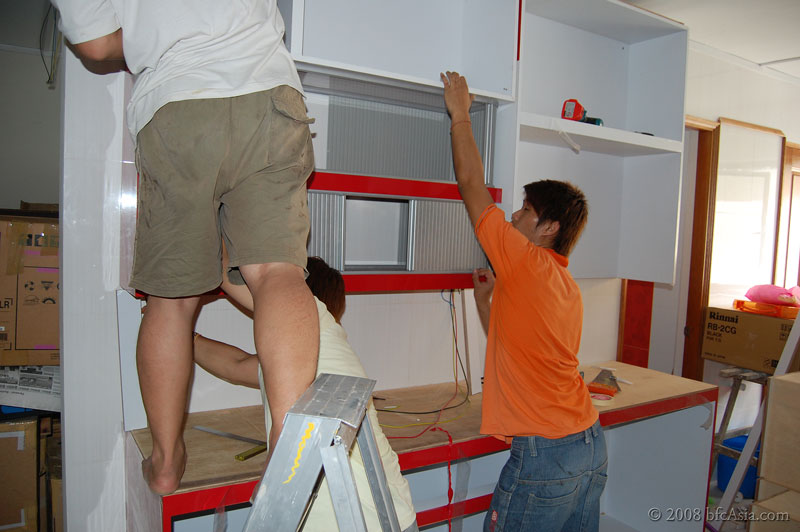
Food Preparation Zone
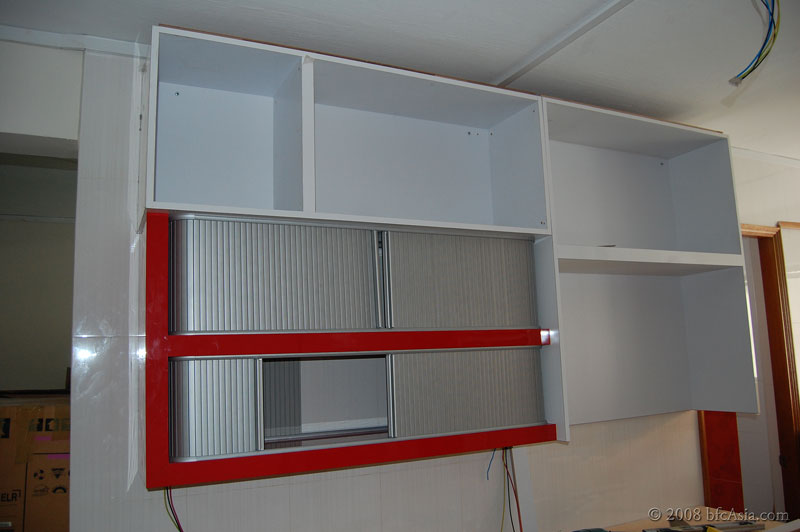
Our Food Preparation Zone consists of the Roller Shelf Unit, the worktop, and several drawers in the base cabinet. The Roller Shelf Unit provides easy access to frequently used items such as sugar, coffee & tea bags, creamer, knife block, etc that are placed on the shelves.
Food Prep Zone

Food preparation entails washing meat, fish and veggies, cutting them on the chopping board, washing utensils and knives used in the food preparation, and finally removing waste organic products from the worktop after the ingredients have been prepared.
All of these activities suggest the Food Preparation Zone must be located next to the kitchen sink.
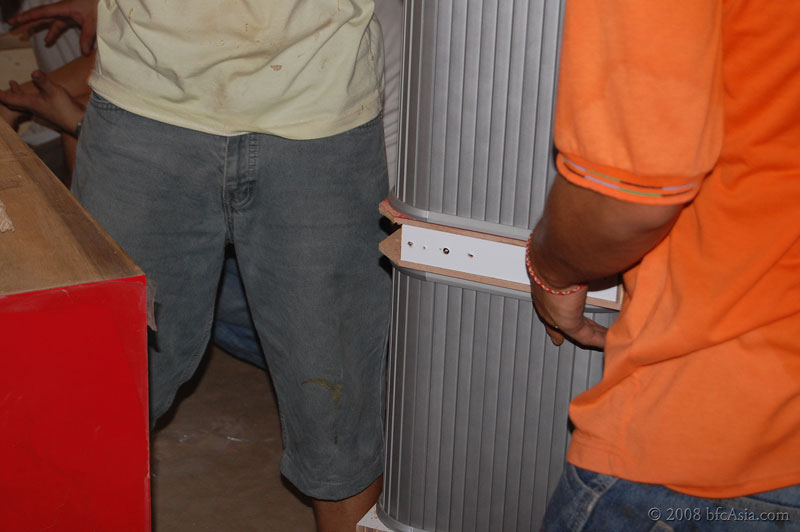
Roller Shelf Unit

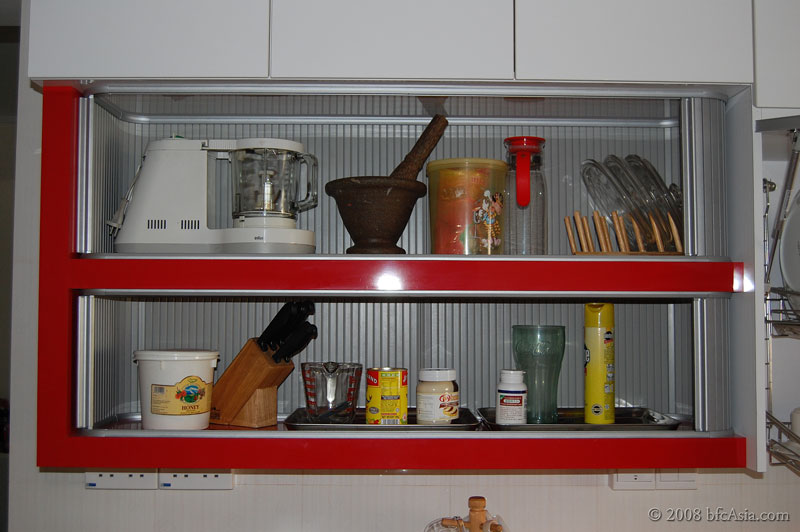
Our breakfast-drinks-snack counter is sited in the Food Preparation Zone.
And we place the toaster, waffle maker, blender, mortar & pestle, juicer, etc on the open shelves for quick and easy access.
Cleaning Zone
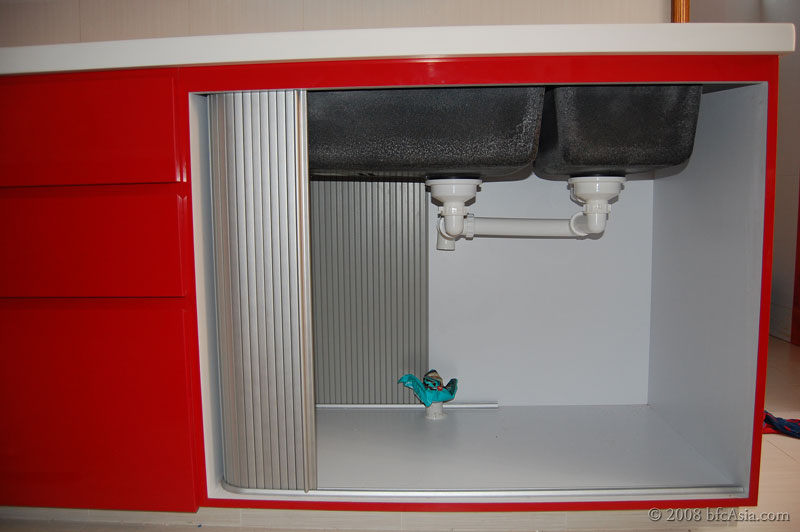
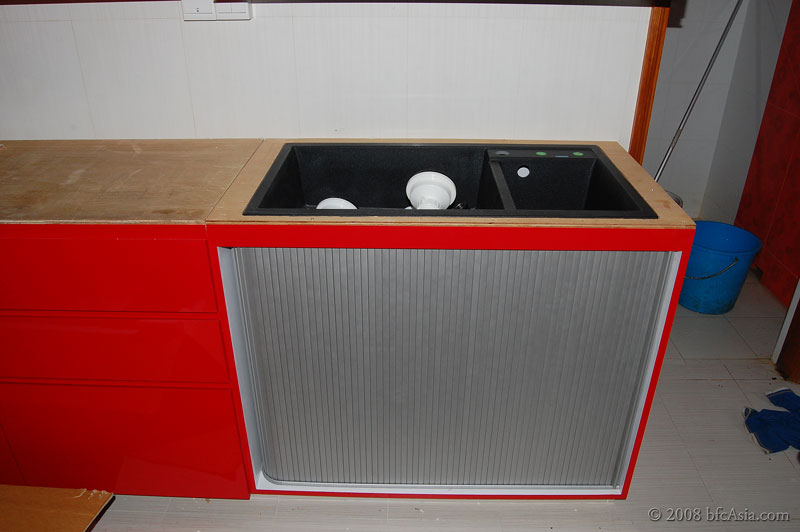
For instance, we think the kitchen sink ( aka "the Cleaning Zone" ) is the most important part of the entire kitchen, and plan our kitchen around the sink. That means plates, mugs, pots, pans, kwalis, and other cookware are stored near the sink.
Dish Drainer Unit


The dish rack above the sink serves both as a drainer and storage for plates, cups, and small flatware. Larger utensils such as kwalis, pots and pans are placed on the rack beneath the sink to dry and store after wash-up.
Kitchen Sink with yet-to-install drying rack beneath
Other Storage Zone
Finally, items such as the stainless steel steam-boat and stove, are stored on the upper shelves of the wall cabinets. Such items would require a ladder to take out and put back, hence the upper shelves are ideal for items used infrequently.
Obviously, the defined zones in our kitchen are not sacrosanct. As we use the kitchen in the ensuing months, we will tweak and refine the zones to meet our evolving storage needs.
One Last Word
In our old kitchen we had a TEFAL Oil Fryer, Panasonic Fruit Juicer, Spring kwali and cover, Zebra stock pots, several oil pots, etc -- all of which were not used, two steam boats with accompanying stoves, Tiger Teppanyaki pans, and more china ware, glasses, mugs than we would ever get to use, even when entertaining guests!
For our new kitchen we therefore need to consciously avoid buying kitchen items we do not need immediately. The catchword is immediate. Many times we bought items we thought we would need. Perhaps not immediately but surely at some time in the future? Consequently, over time our kitchen became cluttered with items we have bought but did not use.
That will be the surest way to ensure our new kitchen remains functional and relevant -- not simply a storage place for items we may need in the future.
Related Posts
1 Kitchen Design
2 Kitchen Zones
3 Perspective Drawing
4 Kitchen Color Scheme
5 Kitchen Drawer System
5 Hettich Drawer Slides & Runners