Review Series
1:
Blanco Sink - 3 stars
2:
Rinnai Gas Heater - Not Rated
3:
Fujioh hood FX-900 - 5 stars
4:
Rinnai Tumble Dryer RDT-600CG - 5 stars
5:
Rinnai Oven RBO-7MSO - 3 stars
6:
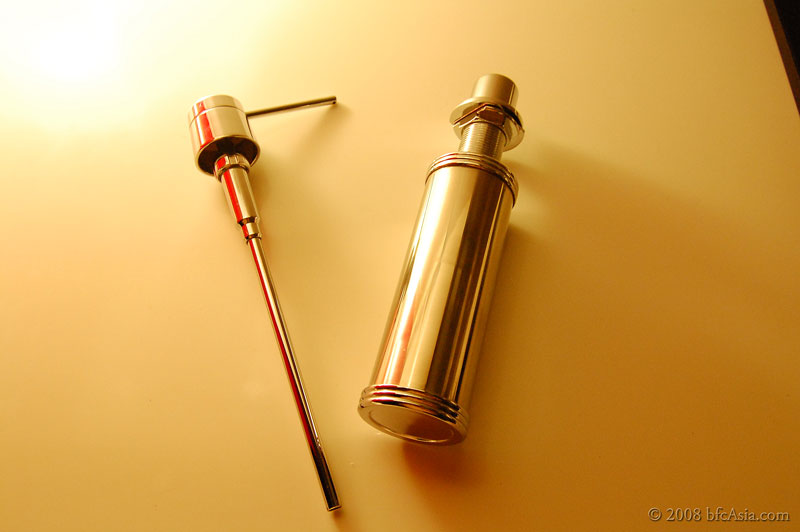
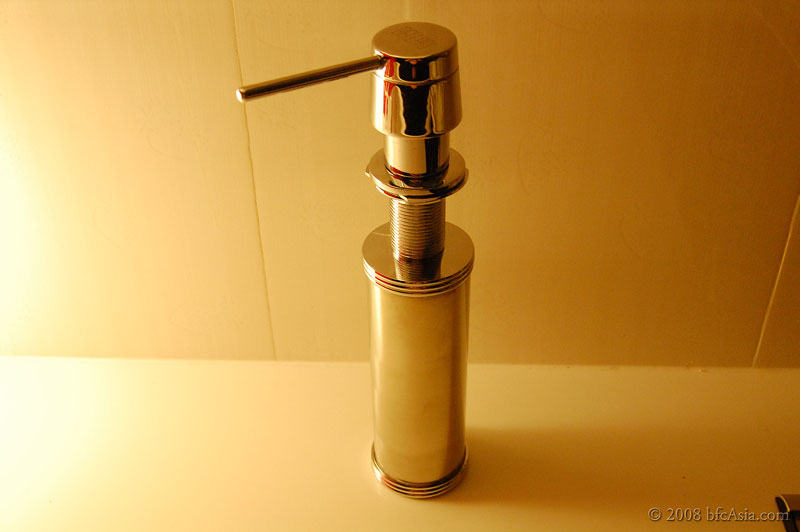
Bellari Liquid Dispenser - 1 star
7:
Rinnai 2-Burner Hob RB-2CG - 5 stars
8:
TOTO Omni Toilet Bowl- 5 stars
9:
Asuka Acrylic Worktop - 2 stars
10:
Premier laminated floor tiles
Related Posts
1
Using the Rinnai Burner Hob
2
Rinnai Inner Flame Technology
3
Review:Rinnai 2-Burner Hob RB-2CG
Preamble
In appreciation of your support, we now provide a series of updates giving our verdict and recommendation on which appliances and equipment we had bought that turned out to be very good buys. Or bad buys. We won't hesitate to give zero or 1-star for products that don't work as expected.
A word about the Review
Our Review is different from other reviews that you read on the Net: we're not armchair reviewers. We bought and installed the product for our own use. No one sponsored us to endorse the product. And we only gave our verdict after at least one year's usage. Obviously, we'd tell you sooner if a product didn't work or performed poorly soon after purchase.
We invite you - if you have bought, installed and used the product to tell us your user experience, particularly after using the product for at least a year. Whether positive or negative, please give us your feedback. Oh, don't forget to provide your Renotalk user ID and photos of your kitchen so we could verify you're a bonafide user of the product.
To kick off the series, we start with the Rinnai 2-burner hob with the Schott ceran glass top.
Rinnai 2-Burner Hob, Model RB-2CG
Verdict: 5 out of 5 stars - Highly Recommended

Having used the hob on a daily basis over the past 20 months, we must say we're really really impressed with this hob! Our reasons are as follows:
Easy and quick to clean
Asian cooking - like ours - tends to be very greasy, and we found the Rinnai
glasstop very easy to clean. The burners are mounted below the glasstop, giving a flat surface over the entire cooktop once the small but robust trivets are removed.
Also, the round trivets are only a bit larger than the burners. After cooking at the end of the day, we simply chuck the 2 small trivets into the sink, pour hot water over them, and viola! the trivets are cleaned! That simple - because each burner has its own trivet and the small size of the trivet makes handling and cleaning them a breeze.
Next, we used a soapy dish towel to wipe the entire glasstop surface, removing all cooking splashes, oil and grease on the cooktop. Took us less than 30 seconds.
If need be, we pulled or plucked up the control knobs, exposing the areas beneath the knobs for cleaning.
All very quick and simple to do.
Rinnai 2-Burner Hob
 The Insides

Why two burners?
Our previous Elba hob had 4 gas burners and 1 hotplate that ran on electricity. The hob looked impressive, but functionally, we made a bad choice. We found that
most of the time, we cooked with only 1 burner, and seldom went beyond two.
The Elba hob came with 3 trivets. Two large trivets, each spanning two burners, and a smaller trivet (No: 3) that covered the area between the two large trivets, providing a small space to rest hot pots and sauce pans.
We had a hard time cleaning the Elba hob. First, the 4 burners (and hotplate) were mounted on top of the hob surface, and each burner had a sunken rectangular area to catch spills, making for an uneven surface. Cleaning such a surface - obstructed by the top-mounted burners and separate sunken areas - together with the 3 large and clumsy trivets, took a lot of time and effort, and was a real pain. Thus what should have been a daily event became a weekly chore as we put off cleaning the hob daily.
As you can imagine, we chose a 2-burner model for our Rinnai hob.
That cuts down tremendously on the cleaning required, and also provides more cooking space as the burners are spaced out. Aesthetically, the hob looks minimalist and elegant with only two burners, in our opinion.
The Flame
Rinnai's inner flame technology really works! You can read about it
here.
The flame burns hot, really very hot! Golly, we could even feel the heat at quite a distance from the hob. The very hot fire meant cooking dishes that required wok hei or umami was not a problem for us.
In fact, the burner was so very hot that we burnt more than a couple of stews and soups when we left the stew unattended. We then had to use a lot of elbow grease and effort to scour and clean the blackened pot or pan.
So if you must use the highest flame setting on the Rinnai,
do not leave the stew (as we did) to do something else! Or before you know it, the Rinnai burner will burn the stew to a crispy / crusty black mass!!
The fire is still very hot when you use a medium-low setting. So that's the setting we now use to cook our meals.
To see how hot the fire was, we once turned down the flame so low you could hardly see the flame. Yet a stew we were cooking on the stove continued to simmer merrily. We couldn't do that with our previous Elba (and more ex-) hob.
As the burners are mounted below the glasstop and the jet of burning gas gets directed inwards in a fierce spiral - a very hot and intense vortex of flame is created that is not easily extinguished nor affected by wind on a rainy day. Wonderful!
The Control Knobs
We had initial problems firing up the burner. Rinnai did not provide any instruction on the control of the knobs. So we had difficulty to ignite the burner flame.
We had no issue, however, to turn off and shut down the flame after we had succeeded in turning on the burner.
Later, we discovered how to turn on the burner flame effortlessly! It was simple, really!
To turn on the flame, you need to turn anti-clockwise (follow the printed arrow) while pressing the knob down until you hit resistance, at which point the gas ignites and the fire comes on. But don't let go of the knob yet! You continue to press down the knob and turn against the resistance - using minimal and gentle force - until you hear a click. You then turn back the knob slightly - actually it springs back to the initial point of resistance. At that point you release the knob - and the burner will continue to burn.
It takes some practice, but you will get the knack of it in no time.
Obviously, Rinnai's method to turn on the flame is ingenious. Because that will prevent any inquisitive child to accidentally
turn on the fire, perhaps getting burnt in the process.
Incidentally - the battery that came with the hob still works flawlessly to ignite the gas, some 20 months after the initial installation. In time the battery will need to be replaced. Also, the special ignition element built into the burner ring will fail one day - we were told by the sales staff that would happen after the hob has been in daily use for some years.
To conclude, we certainly made a wise choice with the Rinnai RB-2CG model - Highly Recommended.
Update: 20-Nov-2011
Yesterday I succesully cooked biryani chicken in a heavy-bottomed pot (WMF 20cm High Casserole) on the hob's lowest flame setting. The chicken pieces were covered with drained basmati rice that was 50% pre-cooked in boiling water. As I did not add water to the pot, I needed to set the fire to a very, very low level to cook slow-cook the meat and rice in a closed environment of water vapor emitted from the heated rice grains. I discovered to my surprise the Rinnai hob was able to set and maintain
the flame at a very very low level it was barely visible, without the wind blowing it out! The flame continued to burn hot and strong, wind or no wind. And my biryani chicken turned out perfectly. Everyone exclaimed my biryan chicken was so delish!
My point is - if you set burners without the Rinnai inner-flame technology to a low fire , it will be snuffed out by wind sooner or later. Set to a very low level? Forget it - those burners simply aren't capable of that, if my experience with my Elba burner is enough to go by.
Oh, if you are interested in cooking biryani chicken, follow the full recipe on my blog
here. Aside from photography, cooking is my other passion!
Related Posts
1
Using the Rinnai Burner Hob
2
Rinnai Inner Flame Technology
3
Review:Rinnai 2-Burner Hob RB-2CG
Review Series
1:
Blanco Sink - 3 stars
2:
Rinnai Gas Heater - Not Rated
3:
Fujioh hood FX-900 - 5 stars
4:
Rinnai Tumble Dryer RDT-600CG - 5 stars
5:
Rinnai Oven RBO-7MSO - 3 stars
6:
Bellari Liquid Dispenser - 1 star
7:
Rinnai 2-Burner Hob RB-2CG - 5 stars
8:
TOTO Omni Toilet Bowl- 5 stars
9:
Asuka Acrylic Worktop - 2 stars
10:
Premier laminated floor tiles