Showing posts with label toilet. Show all posts

Review: TOTO Omni Toilet Bowl

Review Series
1: Blanco Sink - 3 stars
2: Rinnai Gas Heater - Not Rated
3: Fujioh hood FX-900 - 5 stars
4: Rinnai Tumble Dryer RDT-600CG - 5 stars
5: Rinnai Oven RBO-7MSO - 3 stars
6: Bellari Liquid Dispenser - 1 star
7: Rinnai 2-Burner Hob RB-2CG - 5 stars
8: TOTO Omni Toilet Bowl- 5 stars
9: Asuka Acrylic Worktop - 2 stars
10: Premier laminated floor tiles

Note: This is an older post that is being revamped and rewritten to better serve readers, as some of you asked where to locate my old post on the TOTO Omni. Well, the link is here and pending revamp, is herein reproduced intact.

Meanwhile, my verdict after using the TOTO product in the past 3 years since installation is:

TOTO Omni Toilet Bowl

Verdict: 5 out of 5 starts - Highly Recommended!

Reasons are as in this post. My good impression has not changed. Plus I will add add'l positive observations.

TOTO Omni Model CW867JT 1/254-V1(W) S$706.20 from Fullsun Marketing
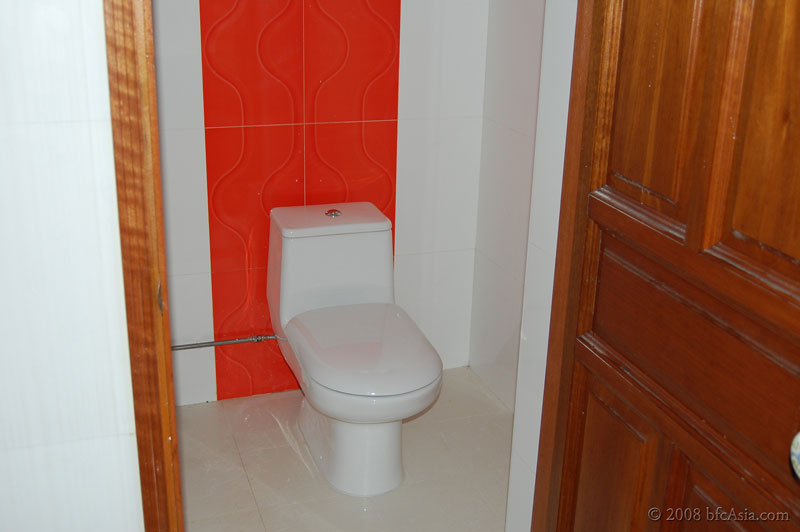
Aside from a review of the TOTO flushing mechanism, we would also talk a bit on our choice of toilet bowl.

Flush mechanism

According to the literature, TOTO flush mechanism combines a special pump to create a powerful water jet, extra-large trap size of 2-1/8" vs 1-3/4" for others, larger 3" flapper valve size vs 2" valves commonly used in others, and a specially contoured bowl to give a "cyclonic" effect to the water flush, all to produce an efficient flushing system using only 6 liters of water.


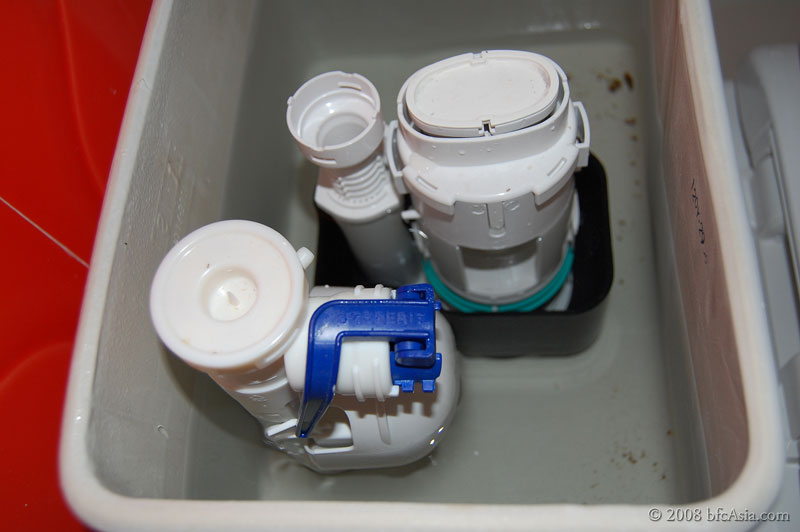
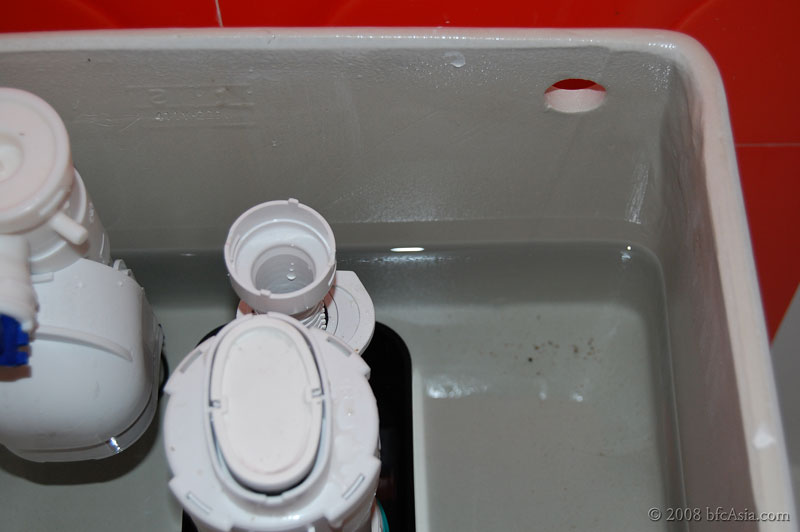
Our experience using the TOTO Omni seems to bear that out. A light touch on the top valve releases the water, the sediment was flushed quickly and completely from the bowl in 6 seconds.

Not only was flushing good and effective, the toilet bowl fills up within 15 seconds! That was probably due to the fact only 6 liters of water was used in the flush.

We did not dismantle the flush mechanism to see if we could adjust the water volume in the tank, although that seemed feasible.

Maybe if we need to in future we would attempt that. But for now we could not find any issues with the flush system.

Simple, compact and uncluttered flush mechanism
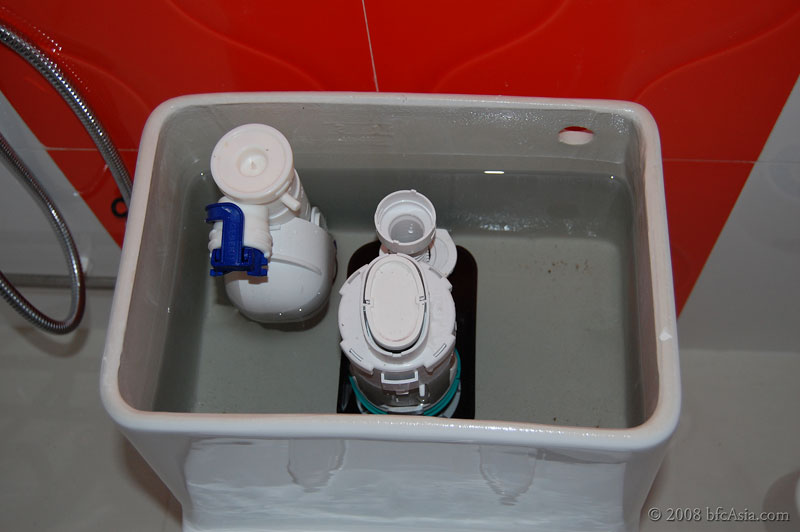

All-plastic construction, no rust! Water level before the flush..

Clears and empties in one flush: water level after the flush


Why TOTO Omni ?

In one word - Design.

We love the clean, simple one-piece design.

Design is important if your toilet is bare, basic, utilitarian -- as ours is.


Our HDB flat came with only one toilet. The toilet was barely big enough - comfortable for one person, yes - but not big enough to accommodate a hand basin. The toilet was a separate enclosure from the bathroom, and it had a squat toilet. We therefore decided we needed a nice-looking toilet bowl to break the monotony and spruce up the stark, utilitarian image. Even if that meant breaking our budget. After all, we only had one single toilet for the whole apartment !

Of course, the toilet bowl not only had to look good, it must also perform flawlessly.

Not more than one flush. That was our benchmark. Some toilet bowls require two flushes to clear the bowl completely. One flush, and you could still see some sediment left behind... haven't you experienced that?

But before you install, how could you know if the toilet bowl needs one or two flushes? The showroom doesn't provide that kind of info. Ask the sales staff, and they will tell you what you want to hear. Not a reliable way to get info, isn't it? And no dealer will guarantee its toilet bowl clears in one single flush.

Faced with the dilemma, we googled for information on the net. We found all the big boys e.g. American Standard, TOTO, Kohler, etc have their own patented flushing systems. We were also able to see their latest designs on the net.

We finally decided to go with TOTO. Their sanitary ware designs were simply elegant and graceful.

And we decided TOTO could not become the market leader in Japan (and possibly the world) unless its products were excellent and did what the company claimed. Therefore its flush system had to be more than acceptable. Our assurance was in the reputation of the brand.

We were also impressed TOTO was always trying to advance the state-of-the-art in toilet technology. For instance, we were surprised TOTO was already into washlets in Japan in the 1980s, when only now washlets are being introduced to the world. We know not of any other sanitary ware manufacturer that produces or markets washlets at this time.

TOTO's NEOREST range of washlets seems to be the rage now. Ever seen a toilet bowl opening its lid to welcome you as you enter the toilet? Or wash your bum with warm water after you have finished your business? Even clears and sanitizes the bathroom of bad odor after you? It even automatically flushes and closes the seat as you walk away!

See more happy bums here.

TOTO Washlet
That was one reason we chose the Omni toilet bowl. We just need to provide an electric power socket near the bowl for the washlet. In future, if we want to we could simply replace the Omni soft-closing toilet seat with any of the TOTO washlet models we fancy, plug in the washlet, and we're done! It's that simple !

Future-proof indeed!

Review Series
1: Blanco Sink - 3 stars
2: Rinnai Gas Heater - Not Rated
3: Fujioh hood FX-900 - 5 stars
4: Rinnai Tumble Dryer RDT-600CG - 5 stars
5: Rinnai Oven RBO-7MSO - 3 stars
6: Bellari Liquid Dispenser - 1 star
7: Rinnai 2-Burner Hob RB-2CG - 5 stars
8: TOTO Omni Toilet Bowl- 5 stars
9: Asuka Acrylic Worktop - 2 stars
10: Premier laminated floor tiles

Review: Blanco Sink

Review Series
1: Blanco Sink - 3 stars
2: Rinnai Gas Heater - Not Rated
3: Fujioh hood FX-900 - 5 stars
4: Rinnai Tumble Dryer RDT-600CG - 5 stars
5: Rinnai Oven RBO-7MSO - 3 stars
6: Bellari Liquid Dispenser - 1 star
7: Rinnai 2-Burner Hob RB-2CG - 5 stars
8: TOTO Omni Toilet Bowl- 5 stars
9: Asuka Acrylic Worktop - 2 stars
10: Premier laminated floor tiles

Related Posts
1 Review: Blanco sink
2 Blanco Silgranit

A word about the Review
Our Review is different from other reviews that you read on the Net: we're not armchair reviewers. We bought and installed the product for our own use. No one sponsored us to endorse the product. And we only gave our verdict after at least one year's usage. Obviously, we'd tell you sooner if a product didn't work or performed poorly soon after purchase.

We invite you - if you have bought, installed and used the product to tell us your user experience, particularly after using the product for at least a year.


Whether positive or negative, please give us your feedback. Oh, don't forget to provide your local forum (Renotalk.com, myHomeTown.com.sg, Sengkang.com or Punggol.org) user ID and photos of your kitchen so we could verify you're a bonafide user of the product.


Blanco Sink

We bought the Blanco sink from Hoe Kee

We installed the sink in our kitchen in 2008.

The completed sink sits beneath the dish drainer cabinet

What an elegant-looking sink!

Ready for plumbing..

Finally - the sink is ready for use!

In the first few months, we loved everything about the sink: its design, its shape, ts color, its obvious construction quality. After all, it's made of Silgranite, a type of granite material! We smiled with contentment as we quietly admired the completed sink unit.

Now, three years later - after using the sink daily, we decided to give our Blanco sink 3 stars: maintaining the sink, keeping it clean and tidy daily, was simply too tiresome!

Verdict: 3 out of 5 stars

Two issues about the Blanco sink stood out:

One - A "cloudy" haze along the 4 sink sides made its appearance every few days after we cleaned the sink. Flushing water on the sides didin't make the "haze"

disappear. And applying the usual cleaners e.g. CIF, VIM, etc only made matters worse. We found the best solution was to scrub the vertical sides with a stiff plastic or bristle brush - vigorously. And we had to scrub ever so often, until it became a chore. Oww..we didn't have to scrub our previous sink to keep it nice and clean, we groused as we scrubbed and scrubbed.

Two - Worse, after washing soiled plates and crockery, the debris remained spread all over the sink bottom. Flushing and sprinkling the water to "coax" the debris to the sink outlet took some minutes. Time that was better spent doing other chores, we thought to ourselves.

We think you'll come to the same conclusion and verdict as us after you've had used the sink for some time.

One final advice
If you plan to replace your sink at some time in future, you should not under-mount it as we did. In our case, if we replace the sink we'd have to call in the worktop guy to 1) unseat the worktop, 2) dismount the sink, 3) put in the new sink, then 4) seal the worktop again. Had we mounted the sink atop the counter top, we could replace the sink ourselves as the plumbing part is easy. Actually.. heck - we still love under-mounting our sink! In spite of the hassle when we replace it in future.


Maybe it's time to search for another sink? We'll look for sinks with a sloping bottom, preferably a stainless steel or porcelain one. A sink with water that flows automatically to the sink outlet as plates are being washed. Like my mom's kitchen sink: waste debris always flowed to the sink outlet so ubiquitously we thought that's the way all sinks behaved!! Until the Blanco Sink opened our eyes. Now we know better.

Hit the Shout Box if you've got one to recommend!

Related Posts
1 Review: Blanco sink
2 Blanco Silgranit

Review Series
1: Blanco Sink - 3 stars
2: Rinnai Gas Heater - Not Rated
3: Fujioh hood FX-900 - 5 stars
4: Rinnai Tumble Dryer RDT-600CG - 5 stars
5: Rinnai Oven RBO-7MSO - 3 stars
6: Bellari Liquid Dispenser - 1 star
7: Rinnai 2-Burner Hob RB-2CG - 5 stars
8: TOTO Omni Toilet Bowl- 5 stars
9: Asuka Acrylic Worktop - 2 stars
10: Premier laminated floor tiles


Review: Fujioh Hood FX-900

Related Posts
1 How to choose: Cooker Hood
2 Fujioh FX-900: Butting the Head
3 Review: Fujioh Hood FX-900
4 Fujioh FX-900: Update

A word about the Review
Our Review is different from other reviews that you read on the Net: we're not armchair reviewers. We bought and installed the product for our own use. No one sponsored us to endorse the product. And we only gave our verdict after at least one year's usage. Obviously, we'd tell you sooner if a product didn't work or performed poorly soon after purchase.

We invite you - if you have bought, installed and used the product to tell us your user experience, particularly after using the product for at least a year. Whether positive or negative, please give us your feedback. Oh, don't forget to provide your Renotalk user ID and photos of your kitchen so we could verify you're a bonafide user of the product.


Here's an interesting video that explains the technology behind Fujioh's cooker hoods:

OK, so what's been our experience with the FX-900 so far?

Well, it's been 3 years since we installed and started using the Fujioh FX-900 in our kitchen. So far we've had absolutely no issues with the Fujioh FX-900 hood. The hood has performed and worked marvelously and has more than met our expectations, period.

Our Verdict: 5 out of 5 stars - Highly Recommended

Rated against our internal criteria, we gave:

5 stars for oil and smell absorption - the hood came with 3 power settings. We normally set it to '2'.


That was enough to rid the kitchen of oily vapors and smell. In hindsight we should have tried setting '1' to see how it performed. But you know, once a product functioned well, we just used it and forget everything else! Maybe readers who have tested using setting '1' can give us feedback?

5 stars for filter cost - no need to buy or replace any filter! FX900 has done away with messy paper and carbon filters. We found oil and smell removal was excellent. The oil tray collected the condensed oil vapor effectively.

5 stars for easy maintenance - each month we cleaned and washed the oil container and the hood surface. Once a quarter we took apart the hood as instructed in the operating manual to clean the innards thoroughly.

Notice beneath hood

Useful diagram instruction beneath hood

Cleaning Oil Container

Cleaning Aluminum Oil Filter


Removing Rectifier Panel

Sirocco Fan inside Hood

Oh, in case you're unsure how to clean the innards yourself, please call Fujioh directly. They have a local website. I recall reading on their site when I was doing due diligence and sourcing in 2008 that they will send a guy to your place to clean the hood thoroughly. They charge a service fee. Check their site to see if they still provide the service.


Related Posts
1 How to choose: Cooker Hood
2 Fujioh FX-900: Butting the Head
3 Review: Fujioh Hood FX-900
4 Fujioh FX-900: Update

Review Series
1: Blanco Sink - 3 stars
2: Rinnai Gas Heater - Not Rated
3: Fujioh hood FX-900 - 5 stars
4: Rinnai Tumble Dryer RDT-600CG - 5 stars
5: Rinnai Oven RBO-7MSO - 3 stars
6: Bellari Liquid Dispenser - 1 star
7: Rinnai 2-Burner Hob RB-2CG - 5 stars
8: TOTO Omni Toilet Bowl- 5 stars
9: Asuka Acrylic Worktop - 2 stars
10: Premier laminated floor tiles

Review: Rinnai Tumble Dryer RDT-600CG

Review Series
1: Blanco Sink - 3 stars
2: Rinnai Gas Heater - Not Rated
3: Fujioh hood FX-900 - 5 stars
4: Rinnai Tumble Dryer RDT-600CG - 5 stars
5: Rinnai Oven RBO-7MSO - 3 stars
6: Bellari Liquid Dispenser - 1 star
7: Rinnai 2-Burner Hob RB-2CG - 5 stars
8: TOTO Omni Toilet Bowl- 5 stars
9: Asuka Acrylic Worktop - 2 stars
10: Premier laminated floor tiles

A word about the Review
Our Review is different from other reviews that you read on the Net: we're not armchair reviewers. We bought and installed the product for our own use. No one sponsored us to endorse the product. And we only gave our verdict after at least one year's usage. Obviously, we'd tell you sooner if a product didn't work or performed poorly soon after purchase.

We invite you - if you have bought, installed and used the product to tell us what your experience has been, particularly after usage for at least a year. Whether positive or negative, please give us your feedback. Oh, don't forget to provide your Renotalk user ID and photos of your kitchen so we could verify you're a bonafide user of the product.


***

Rinnai Tumble Dryer RD-600CG

Our verdict: 5 out of 5 stars - Highly Recommended.

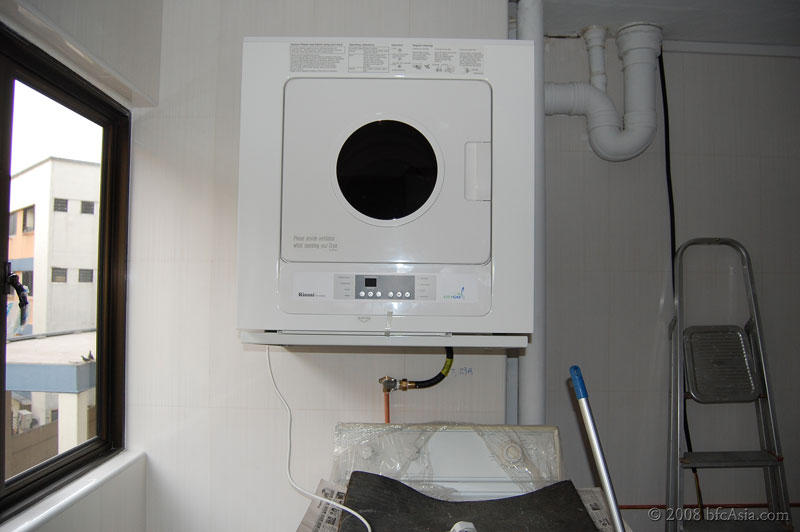
Rinnai clothes dryer runs on town gas


The Rinnai tumble dryer Model:RDT-600-CG worked as expected. We've had no issues at all over the past 3 years. We simply dumped freshly washed clothes into the dryer, pressed the power button and set the auto program mode, and that's it. No need to set the time. The dryer stopped automatically after the clothes are dry enough. When it beeps, that's to remind us to clean the removable filter, if we forget to clear it of lint each time after drying the clothes.

Clothes after washing produce a lot of lint that is not obvious until you use the dryer. The lint is collected by a fine filter sieve inside the dryer and will build up slowly when you use the dryer each time. Finally, when the filter is blocked, the dryer will emit a sound. That is the alert to remove the lint from the filter, an easy procedure. Cleaning the lint filter is no hassle at all.

In short, the dryer worked flawlessly.


NOTE: The Rinnai clothes dryer RDT-600-CG was bought at Citygas showroom at the former PUB Building at Somerset Road. Price $600.00 after GST plus another $80 for installation.

Submit a comment if you don't know how to remove the lint.

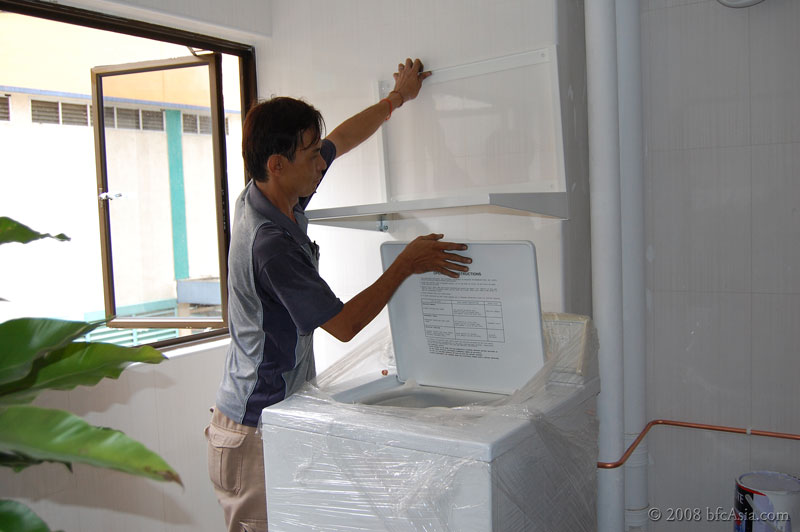
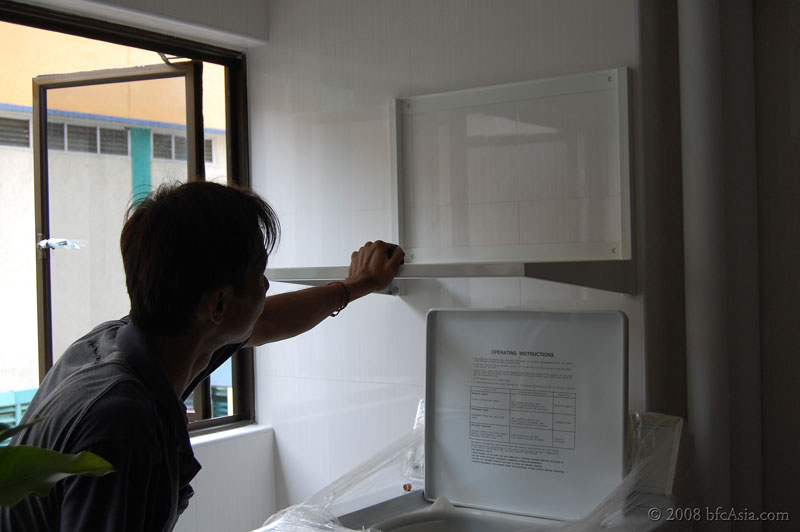
Checking dryer bracket placement


Ensuring Maytag washer lid can open freely


Review Series
1: Blanco Sink - 3 stars
2: Rinnai Gas Heater - Not Rated
3: Fujioh hood FX-900 - 5 stars
4: Rinnai Tumble Dryer RDT-600CG - 5 stars
5: Rinnai Oven RBO-7MSO - 3 stars
6: Bellari Liquid Dispenser - 1 star
7: Rinnai 2-Burner Hob RB-2CG - 5 stars
8: TOTO Omni Toilet Bowl- 5 stars
9: Asuka Acrylic Worktop - 2 stars
10: Premier laminated floor tiles

Dish Drainer Cabinet

Related Posts
1 Mistakes Made
2 Worktop-to-Hood Distance
3 Dish Drainer Cabinet
4 What Will We Do Differently?
5 Kitchen - Mistakes
6 Plumbing - Sinks

Most of us think the ID / Contractor is right when it comes to the finer points of kitchen design.

After all, what do we know how deep we should make the kitchen drawers? Or what should be the worktop height from the floor? Or can I have a deeper worktop, especially when the standard 2-feet depth is not deep enough for me?

All to no avail.

Each time I brought these issues up for discussion, the ID soothingly reassured me

any deviation from the standards would be disastrous.

For instance, I had bought a 2-tier Kris ss dish rack from Hoe Kee at Plaza S'pore. I couldn't do anything to the space between the two tiers, as that was the design. For standard plates, I mused.

Well, I liked the design. The build quality was good. Maybe I could build more space above the top tier to accommodate larger chinaware, I thought to myself as I placed the order.

Renovation had already begun; the contract had already been signed. I brought up

the issue with the ID nevertheless. The ID was horrified. Probably at the thought of seeing his profit shrinking.

Cannot-lah, the lift-up glass panel on the dish cabinet is fitted with hydraulic hinges. Making the cabinet taller would require a bigger, and heavier, glass panel. The hinges cannot support that large panel !

That made sense, so I didn't insist. Partly as I had overlooked the dimension issue(s) before agreeing to the contract. Any change now, I realized glumly, would mean a reworking of the numbers and changed the contract amount.

So what I have as a result is a less-than-perfect kitchen. It would be perfect if the dish drainer is taller so that the space above the top rack is high enough to accommodate the occasional large chinaware. Such as the one used to serve Fish Head Curry, a family favorite.

My advice? Next time, I will simply do away with the lift-up glass panel. Less aesthetics maybe, but more practical. Saves money too - and who can't do with more money, hahaha! For the review of this drainer rack, please go to my post.


Related Posts
1 Mistakes Made
2 Worktop-to-Hood Distance
3 Dish Drainer Cabinet
4 What Will We Do Differently?
5 Kitchen - Mistakes
6 Plumbing - Sinks

Plumbing Accessories

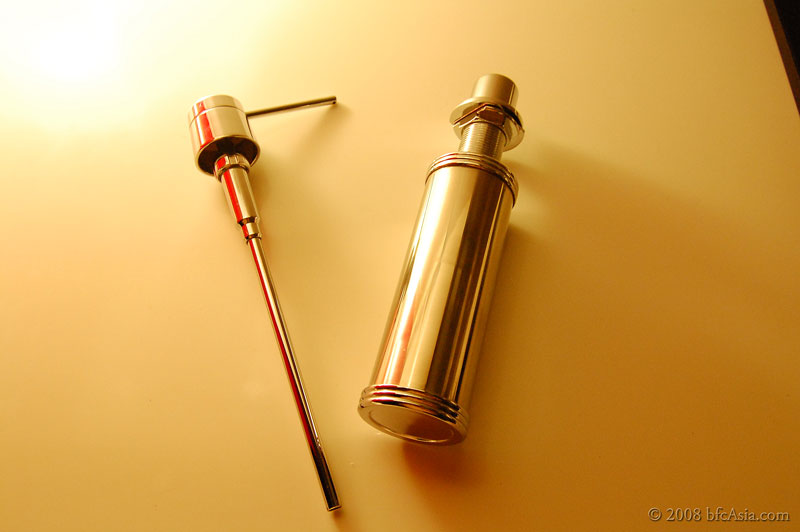
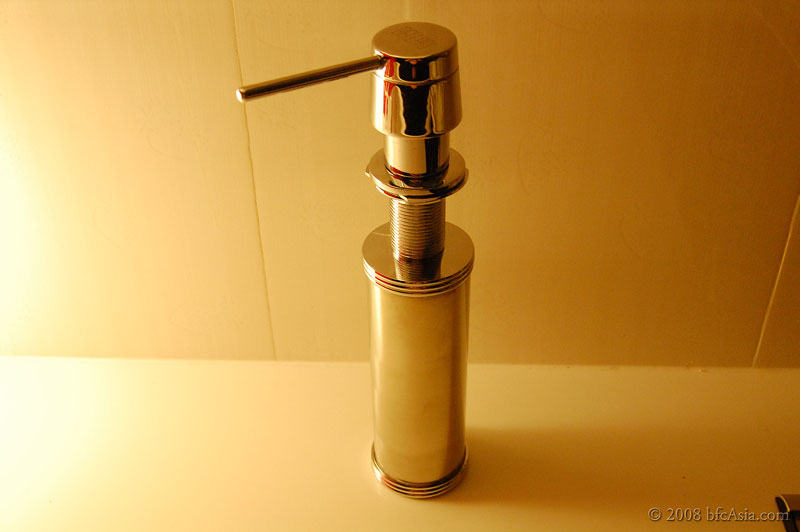
Liquid Dispenser

In our old kitchen we cleaned the dishes with a liquid detergent contained in a plastic bottle dispenser at the kitchen sink. The bottle dispenser was placed in the sink bowl, sometimes on the countertop. Owing to the humid condition, mold soon grew on the dispenser bottle. We had to clean the bottle repeatedly to rid it of the black mold.

For the new kitchen we decided to use a stainless steel liquid dispenser that is mounted on the kitchen sink, and so bought the Bellari Liquid Dispenser after looking at liquid dispenser models from Hoe Kee, SSC, and one that is made locally.

A mounted liquid dispenser at the sink presents a prettier sight and avoids black mold growth on the bottle dispenser.

Bellari Liquid Dispenser Model DS01 S$39 from The Bellari Shop


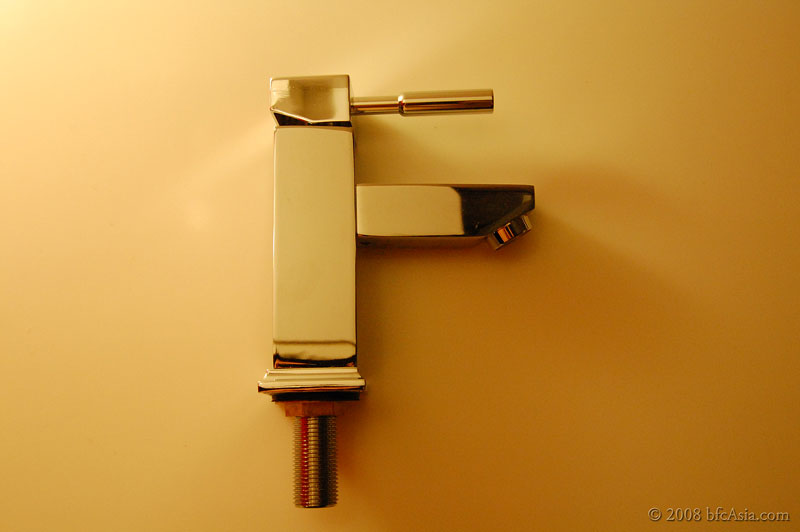
Basin Tap

For the basin tap we wanted one that dispenses only cold water, since we decided against having hot water at either the kitchen sink or wash basin.

We chose a squarish design for the basin tap to fit the rectangular DECA wash basin.

Renee Basin Tap Model E321 S$80 before GST from Adamas Bathroom PL


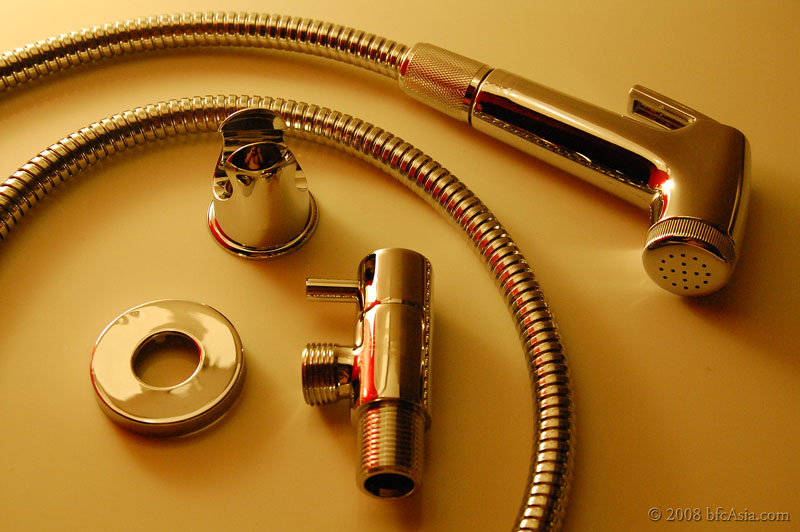
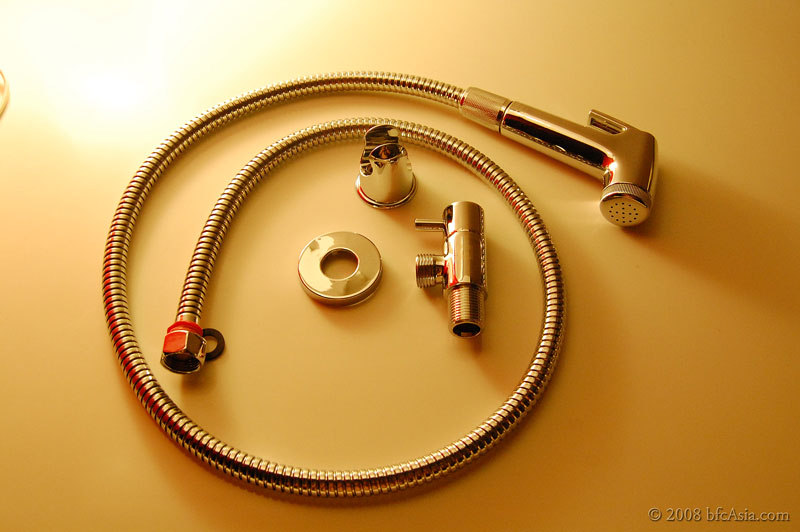
Bidet or hand spray

In the past we couldn't figure out what other uses a bidet or hand spray performs aside for washing up after doing one's business in the toilet. So we didn't fix one.

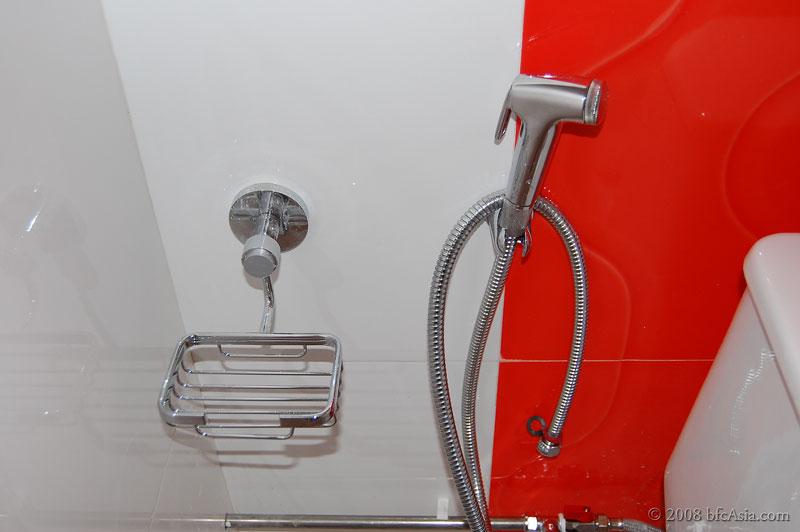
In our new toilet we decided a bidet would be useful in cleaning the toilet bowl, aside from its use by guests who want to use it after using the toilet. For that purpose we will install a soap holder next to the bidet in the toilet.

Hand Spray Set Model 2907 S$35 from Poh Joo


Clothes Rail Model V3 (S$18) & V5 (S$26) Poh Joo


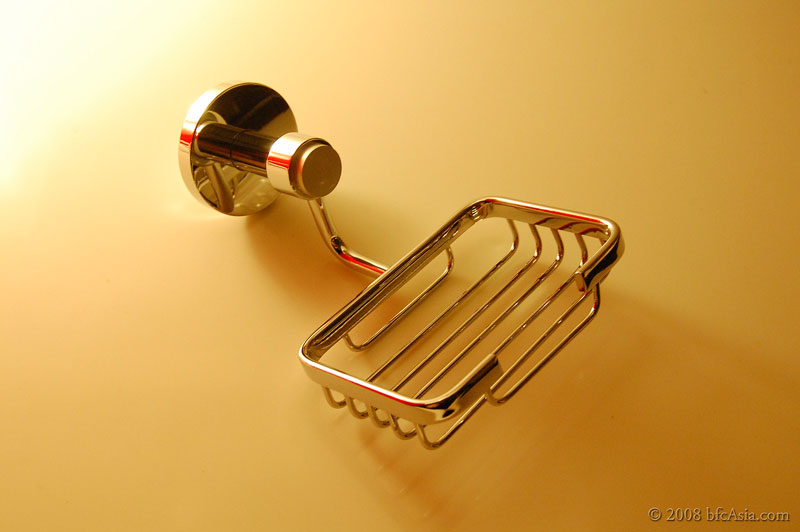
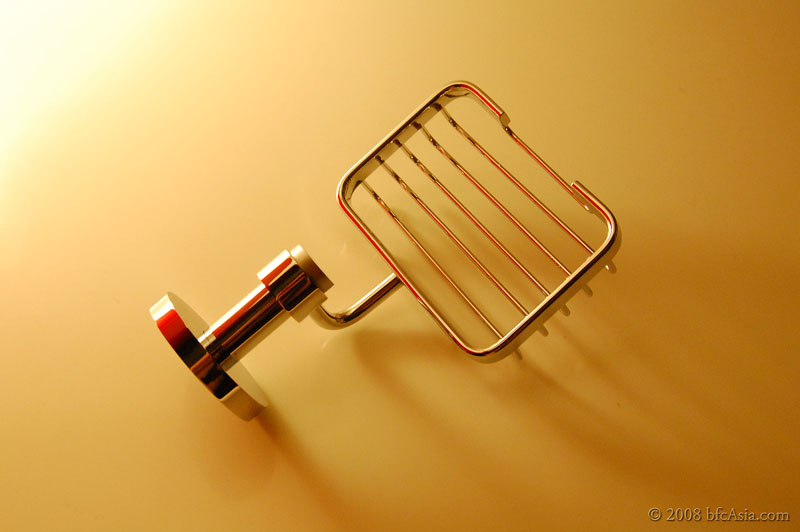
Soap holder

As there is no shelving in the toilet, we decided to fix a soap holder to complement the bidet spray in the toilet.

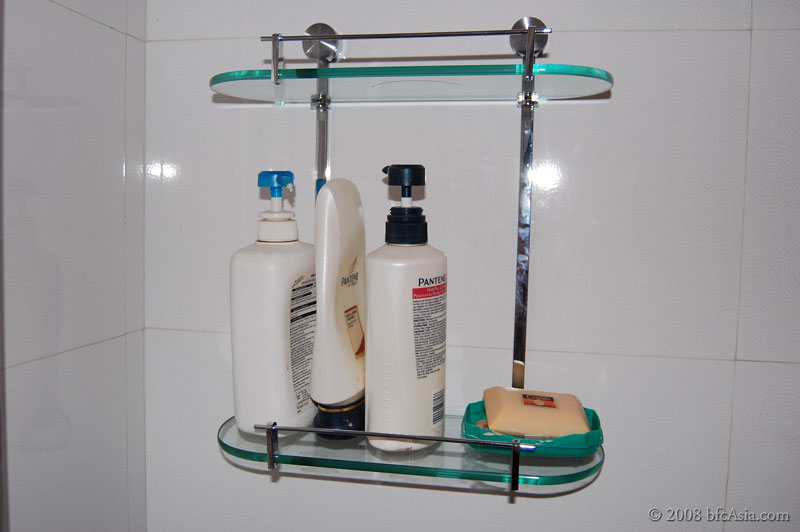
A soap holder is unnecessary in the bathroom as there is a stainless steel rack with two glass shelves for shampoos and other shower needs.

Likewise for the wash basin, provision has been made to fix a liquid dispenser on the wash basin.

Roddex Soap Holder Model 7303 S$28 from Poh Joo


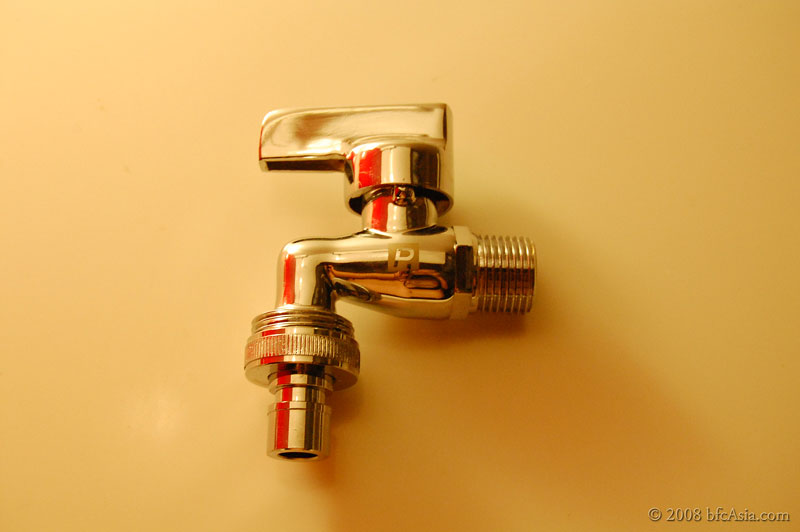
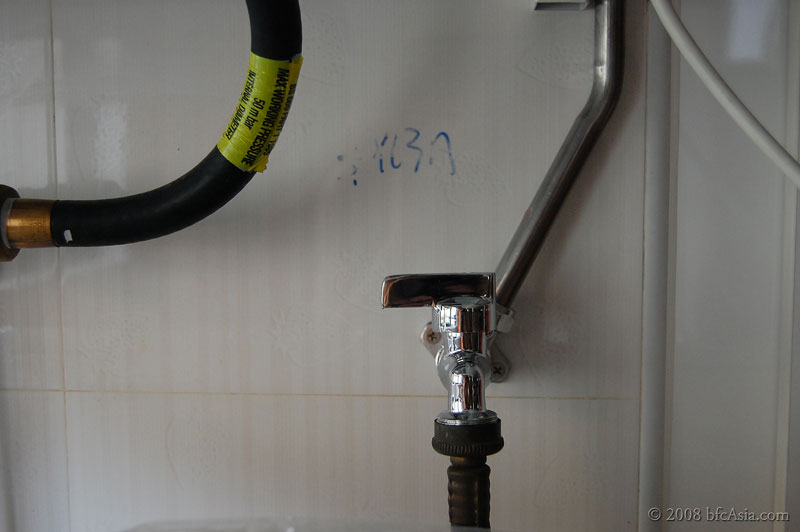
Union Tap Stainless Steel Model 2154 for Washer, S$8.50 Poh Joo

Plumbing - Sinks

Related Posts
1 Mistakes Made
2 Worktop-to-Hood Distance
3 Dish Drainer Cabinet
4 What Will We Do Differently?
5 Kitchen - Mistakes
6 Plumbing - Sinks

Plumbers -- like their Citygas counterpart -- seem to be in short supply these days.

After waiting several weeks, with no-shows on two occasions -- a plumber team of 3 young guys finally showed up at my door on Mon, May 5th. Guess what? It was 4.45 pm when they showed up!

At that hour most workers would be packing up to go home. Dusk was closing in, my flat had no ceiling light, and I wondered how they would manage in my dim kitchen. Peeved, but somewhat relieved they finally came, I agreed to let them in.

After all, though the kitchen cabinets and worktops had been completed weeks ago, my kitchen had lain idle. What good is a kitchen without the sink?

The plumbers seemed well-briefed on the jobs required.

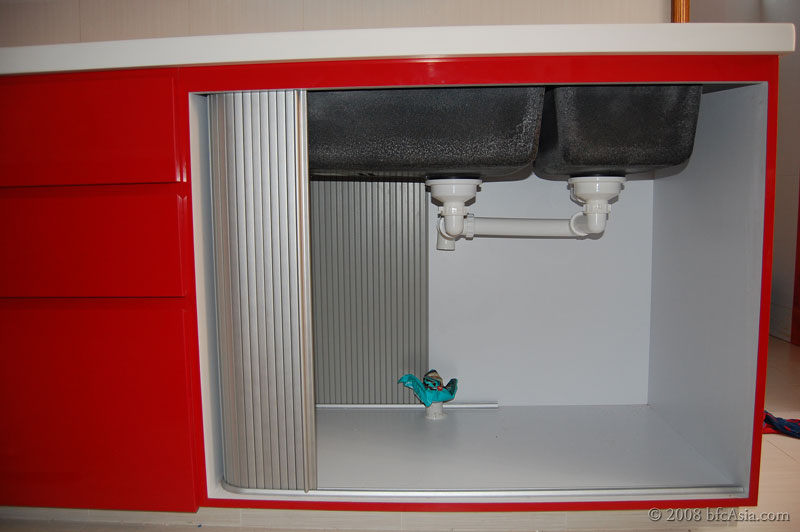
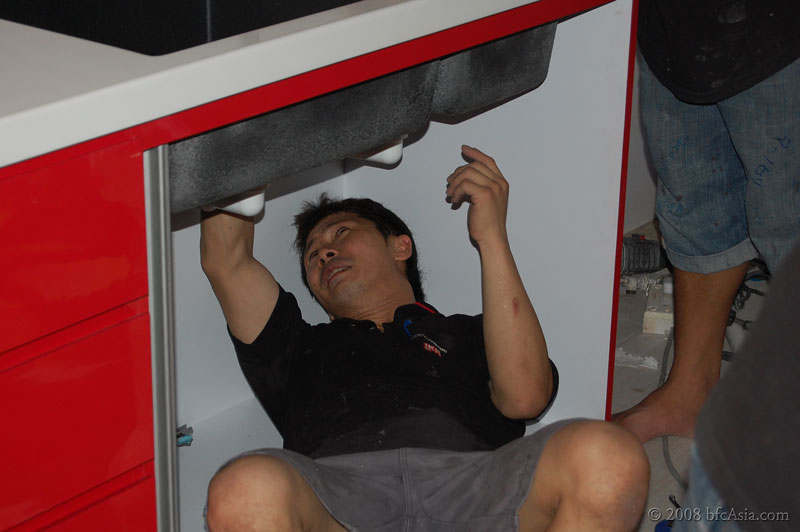
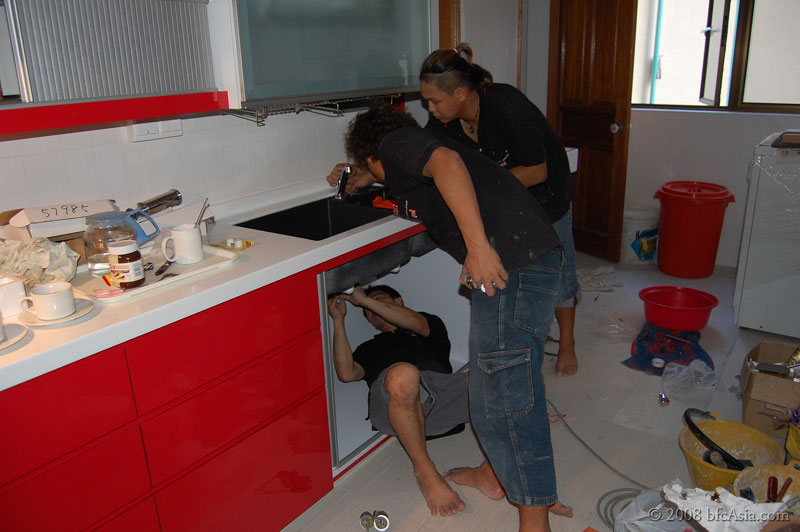
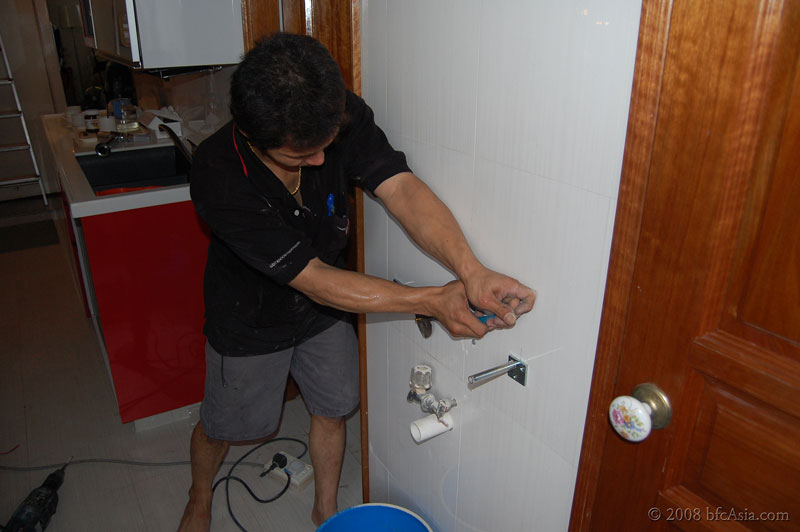
Plumbing the kitchen sink


Despite that, I decided to butt in now and then to ensure they do their job properly. I had seen enough of the previous plumber (see my earlier posts) mucking up my rain shower piping and toilet bowl installation to let the plumbers carry on as usual. Fortunately these guys did not resent my intrusions. They took the cue and sought my placement instructions when they had to install a particular accessory or fitting.

Installing the Wash Basin

The apartment came with a single bathroom and a separate toilet, both of which were too tiny for a wash basin inside. Designed in the stark 70's style -- basic, ugly

but functional, hacking the wall separating the two to create a larger bathroom-cum-toilet was impossible. The sewage and water pipes were were in the way, the largest gap between the pipes was a mere 15-inches, too narrow to facilitate movement from the shower area to the toilet.

It was also not possible to re-orient or move the squat toilet bowl needed to give a single bathroom-cum-toilet enclosure, due to the sewage pipe on the floor connecting to the ceiling of the apartment unit below. Any changes to the sewage pipe would affect the flat below.

With no space inside either the bathroom or the toilet for a wash basin, the only viable location was on the wall outside between the bathroom and toilet. To mitigate the very visible and open location of the wash basin, we decided on a designer basin hung on the wall, complemented by a full-height wall mirror and glass shelving.

We chose a basin tap that is squarish in design to fit in with the rectangular basin.

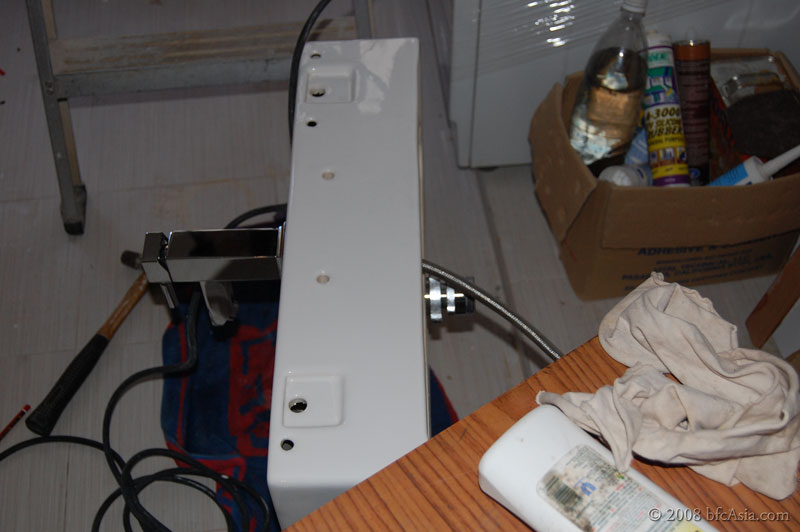
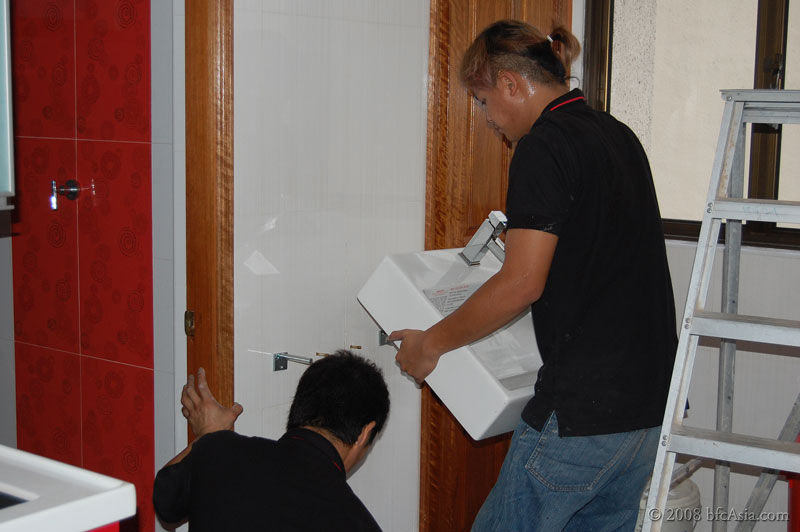
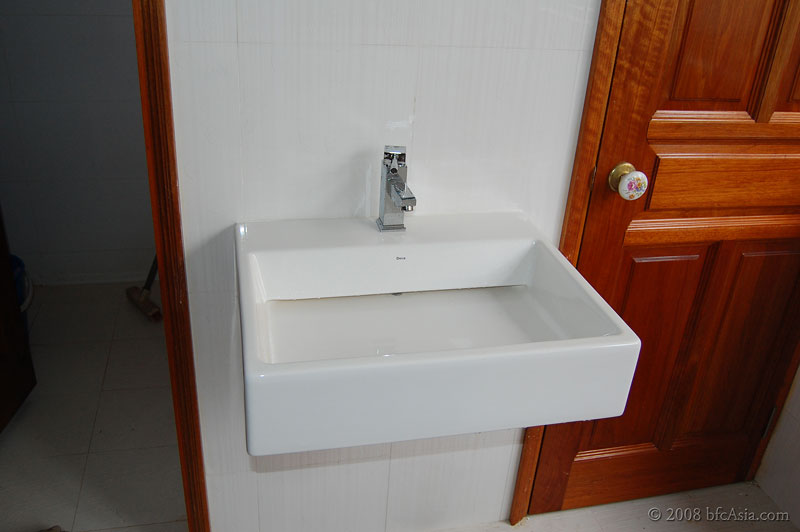
Deca Wash Basin

Installing the Basin Tap and Waste Fitting

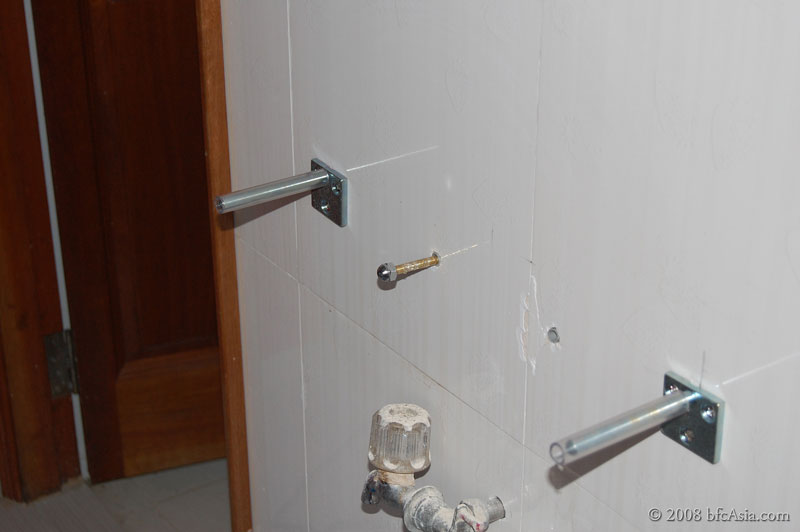
The wall anchor bolts and sink bracket support

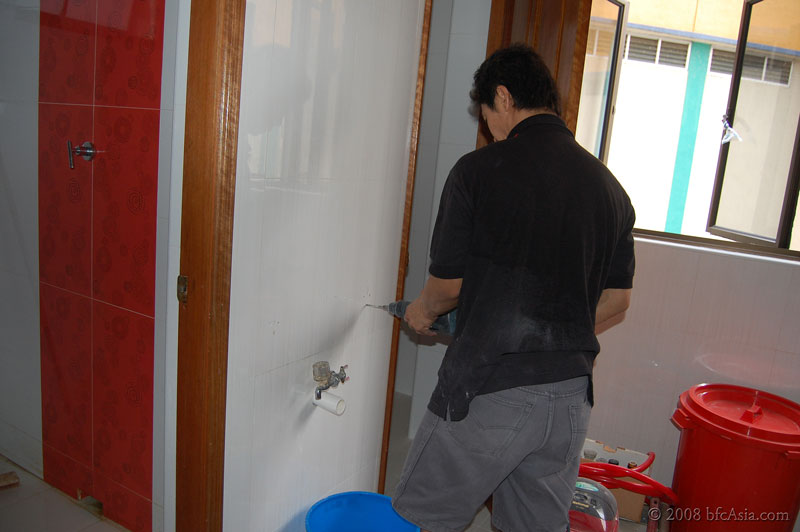
Drilling the bracket support


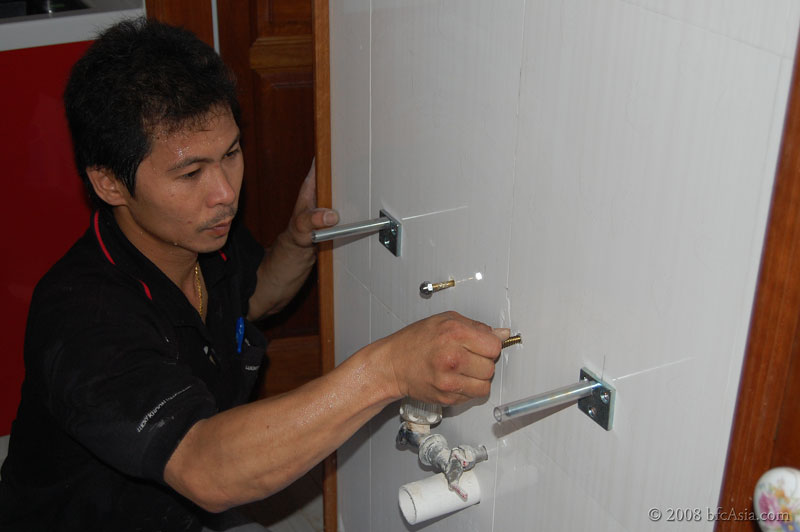
Fixing the wall anchor bolt


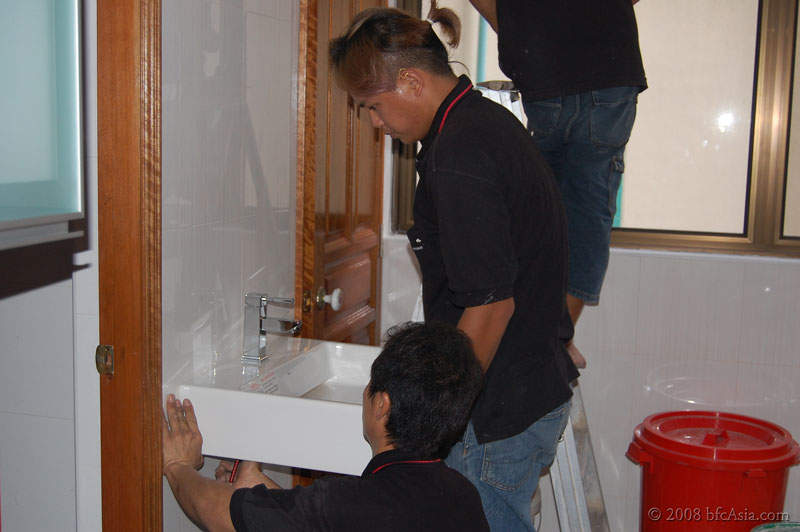
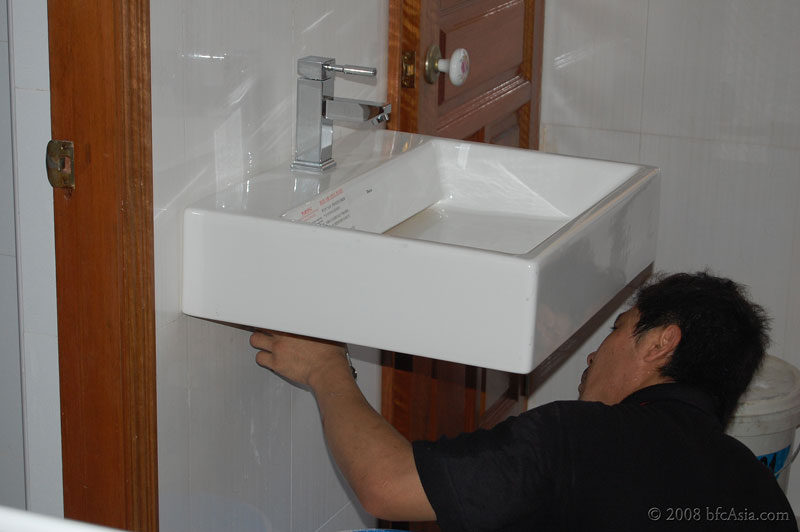
Lifting the sink onto the supports

Tightening the nut on the wall anchor bolt beneath the sink


Wall-hung Deca Wash Basin Model L87S S$350 and Basin Tap E321 S$80, both before 7% GST, from Adamas Bathroom PL


Mistakes Made
The DECA Wash Basin Model L87S does not have the usual stainless steel pop-up waste trap. Instead, the sink has a sloping base that is slightly angled to allow water to flow out to an outlet hole hidden at the back of the basin.

Obviously the angled base in the basin meant the plumber had to be extra mindful and ensure that the sink is installed perpendicular to the wall. He was probably

not familiar with the basin design. He failed to use a spirit level to check if the sink was installed strictly perpendicular to the wall and simply did the installation as per normal. As a result, the wash basin was fixed slightly angled downwards, in effect canceling the slope of the sink.

When I turned on the basin tap, I found the sink does not discharge the water to the back completely, but left a small puddle behind.

Further, the basin came with 2 hidden fittings holes precut on each side of the main tap hole. A slight but sharp knock on the precut porcelain will open up the hole to allow fittings to be fixed. The plumber however did not open up the fitting hole. He said he was afraid he might damage the sink if he did not knock out the precut porcelain correctly.
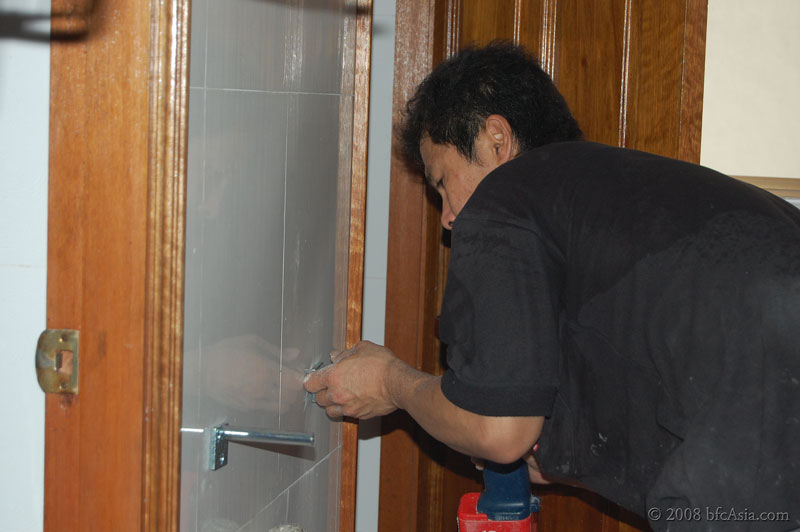
Therefore I was left with a soap dispenser that is not fixed on the wash basin.

LESSON LEARNT:

It was easy to overlook that this wash basin has a slope base and should be installed using a spirit level to check the basin is fixed strictly perpendicular to the wall. Make sure your plumber is aware of that if you choose to buy such a basin.

After looking at the photos of the installation, I realized the downward angle of the basin could be corrected, simply by inserting small pieces of rubber disc at the bottom edge below each anchor screw, so that the basin is slightly angled upwards to correct and level the basin horizontally. The adjustment will maintain the base slope at the correct angle and allow water to be quickly and completed discharged from the wash basin.
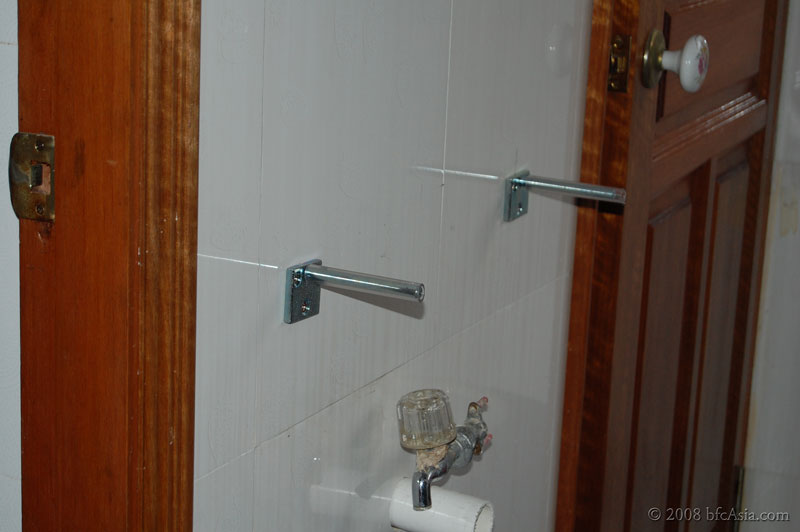
The ID noted the suggestion and will ask the plumber to make the adjustment. Without the correct tools it would be impossible to do the adjustment myself.

Second, always get the sanitary ware dealer to deliver the purchased sink item with the fitting hole for additional fittings opened. This way the dealer is responsible if the basin or sink is damaged in the process of opening the fitting hole. Otherwise your plumber will refuse to open the precut fitting hole fearing he would have to bear the cost if he damages the sink.


Related Posts
1 Mistakes Made
2 Worktop-to-Hood Distance
3 Dish Drainer Cabinet
4 What Will We Do Differently?
5 Kitchen - Mistakes
6 Plumbing - Sinks

Plumbing Bathroom & Toilet

Panasonic Instant Electric Heater

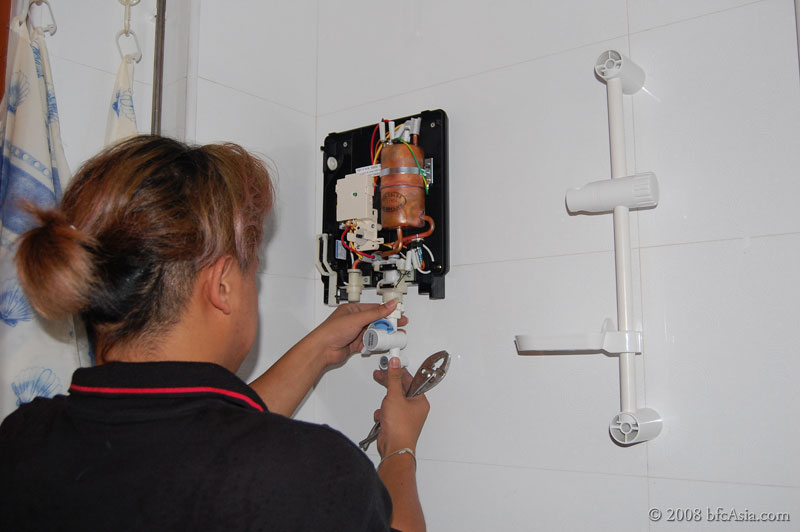
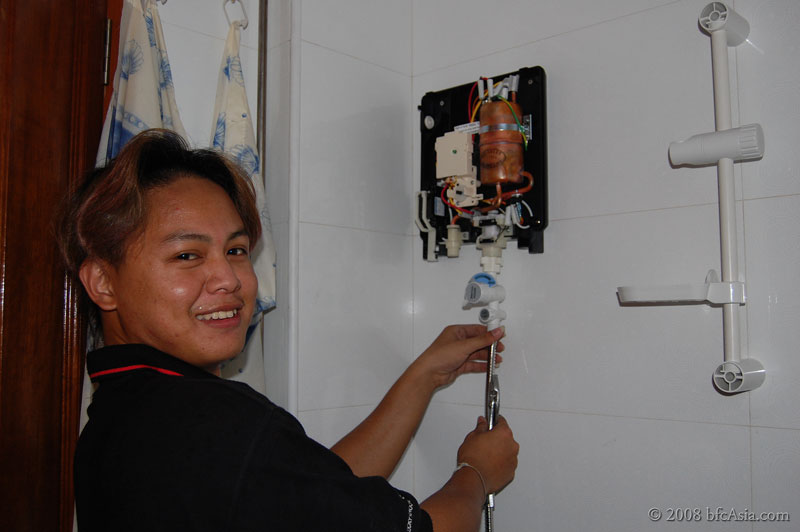
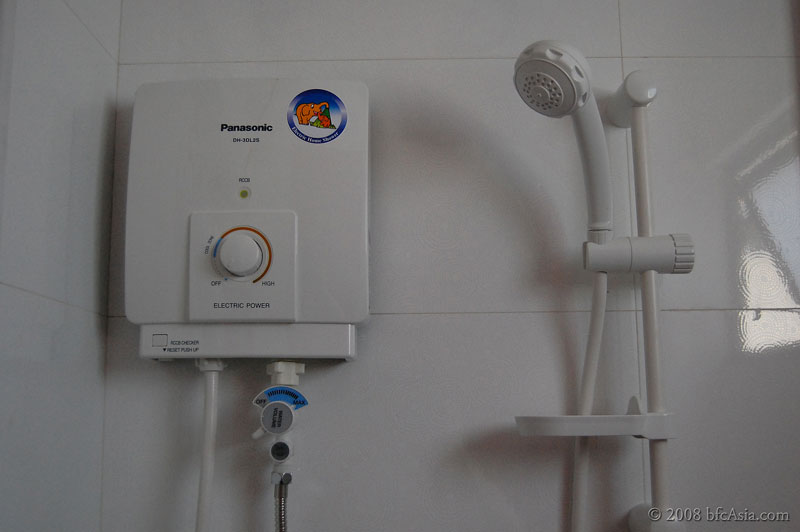
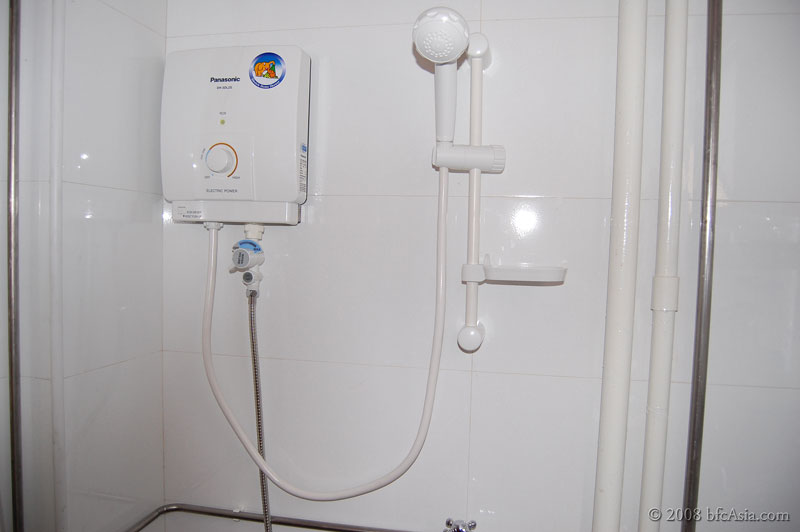
Fixing shower heater


Panasonic Water Heater Model DH-3DL2S S$150 from Tai Yong Electric Co


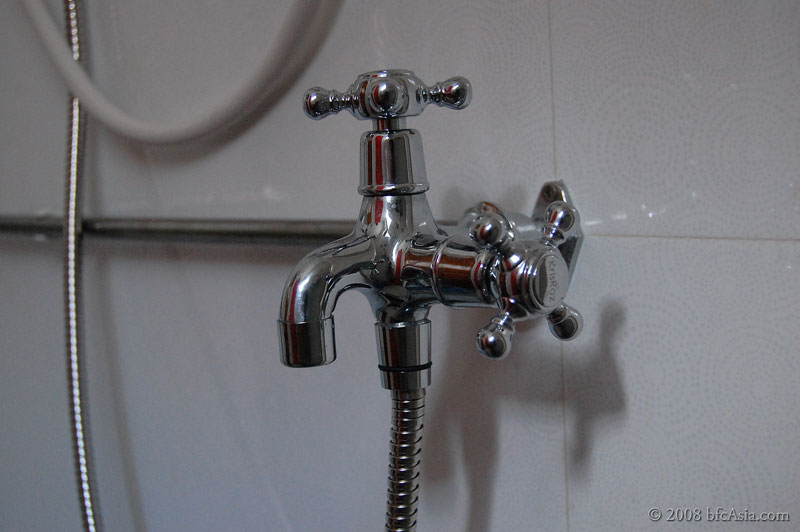
KRIS A125 Two-way Shower Tap for Bathroom, S$21 from Hoe Kee


Bathroom Accessories

Stainless Steel Bathroom Rack with 32cm Clear Tempered Glass Shelving Model 840144 S$54 from Poh Joo


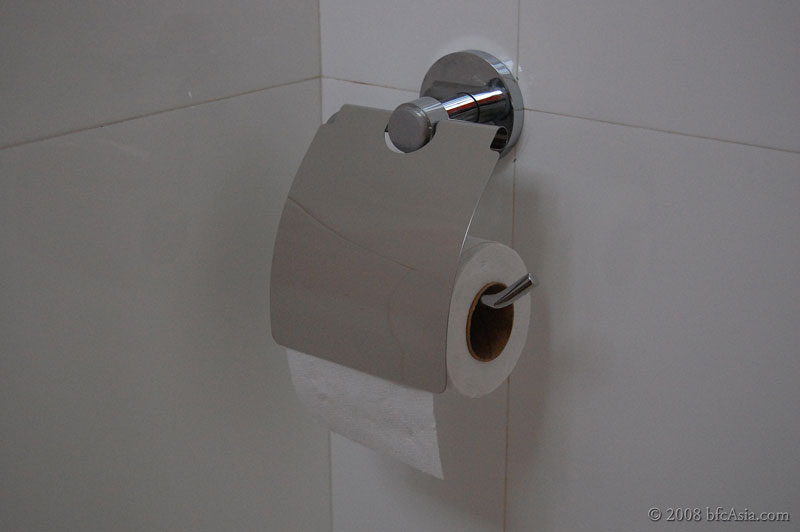
Toilet - Roddex Model 7310 Tissue Roll Holder, S$24 from Poh Joo


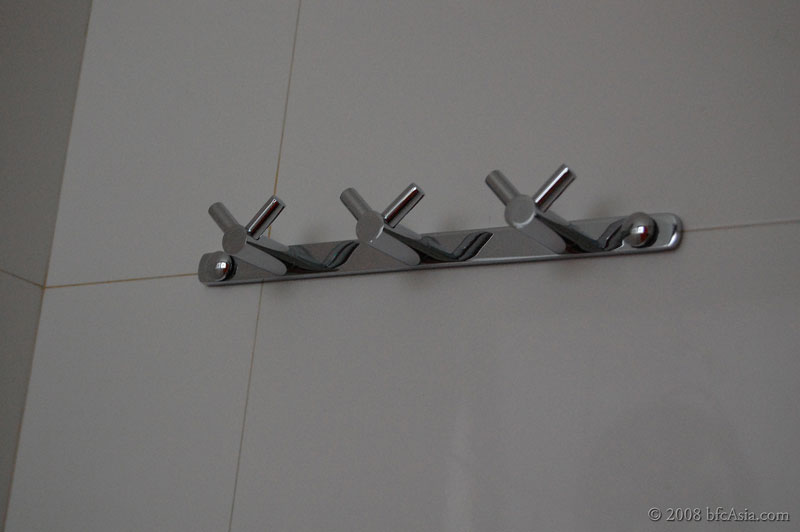
Toilet - Clothes Hook Model V3, S$18 from Poh Joo


Toilet - Roddex Soap Tray S$28 and bidet spray S$35, both from Poh Joo


Maytag Washer - Union Tap Valve Model SS2154, S$8.50 from Poh Joo
 

Copyright © 2008-2011 bfcAsia - All photos and contents are copyrighted material of shunFoto.com • All Rights Reserved